
New update to the procreate app! I’m always so excited when Procreate updates and adds in new features. Once again, they’ve added in more interesting and helpful features to the app. I was really excited when trying them out!
So now that I’ve experienced the awesome new features, it’s time to tell you all about them! In this post, I will be showing you the new features, where you can find them and how you can use them.
Pencil filters
When you tap on an option under the Adjustment tab, you will notice that you can now choose between layer or pencil filter. The layer filter works like before, it affects the whole layer. The pencil filter is a new feature that’s been added to the update.
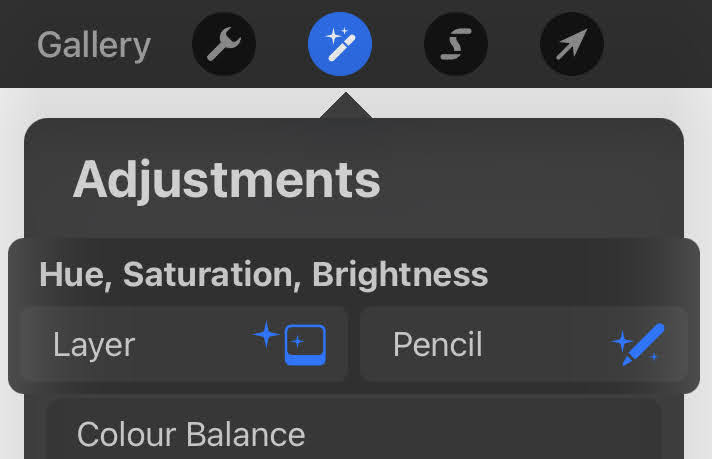
With the pencil layer, you can draw on your layer as usual and the adjustment effects will only show up in the areas you’ve drawn on. The brush properties stay in this mode so you can use different types of brushes to add the effects on! This is good when you only want to have the filter effects on parts of the layer and not the whole layer.
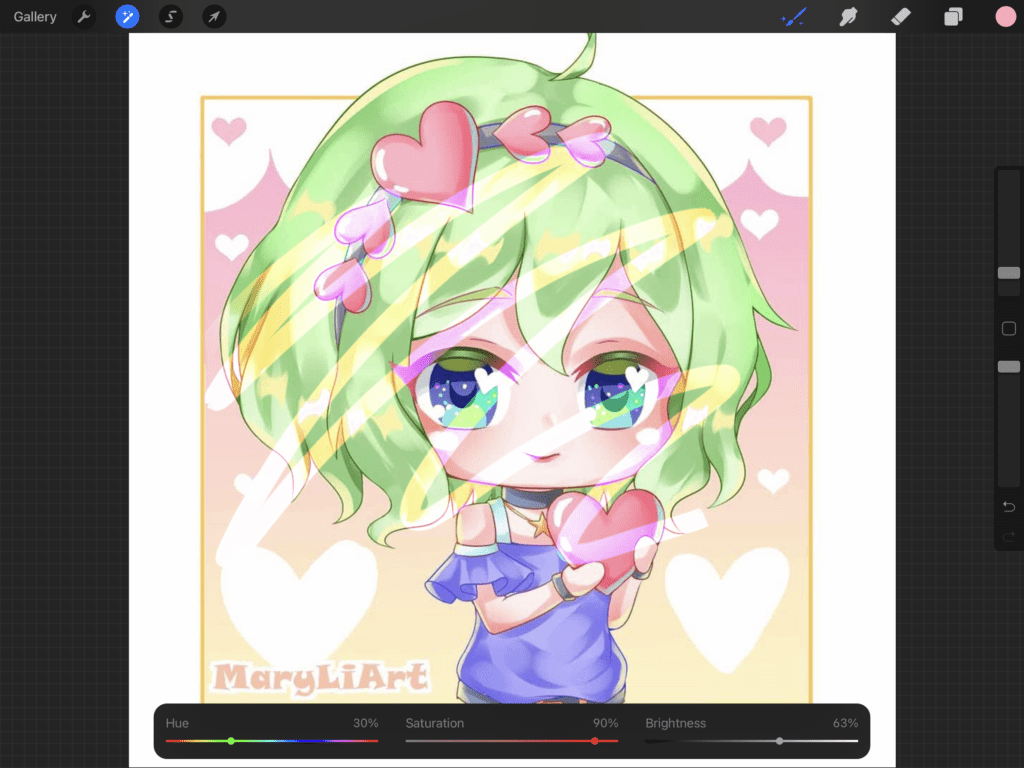
Once you’ve made you brush marks, you can still make adjustments to the filter settings to view the changes before you commit to them. It also only works on the same layer. The pencil filter is available on all the options under the adjustment tab except liquify and clone.
New filters
Some new filter effects that are added to the adjustment tab in the procreate app: bloom, glitch, halftone, chromatic aberration
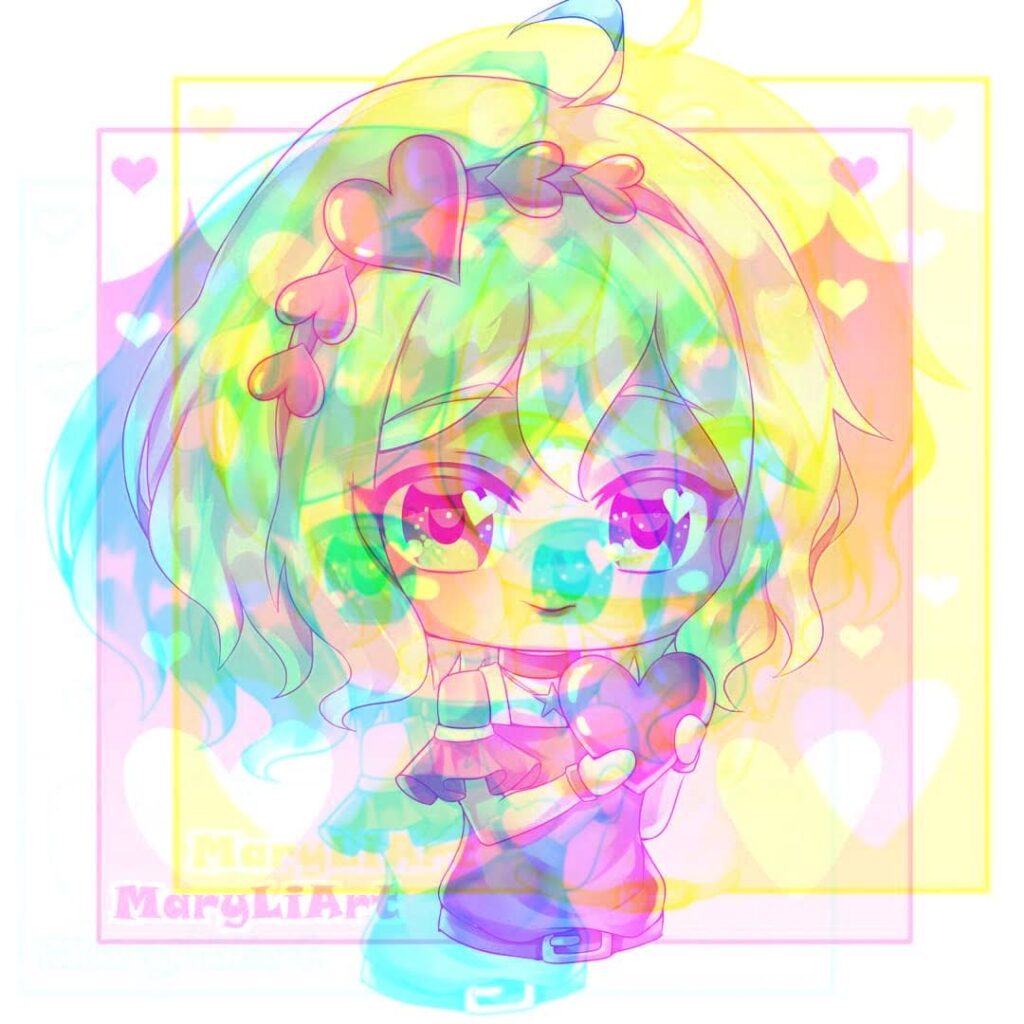
Bloom
This effect gives a glow to your artwork. You can change the overall effect, transition, size and burn of the effect.
To adjust the overall effect, just side your finger or stylus anywhere on the canvas, to the left or right. You will see a percentage bar at the top of the screen showing you the amount of bloom you’re at.
Transition
This affects the strength of the effect on different values in your artwork.
Increasing it lessens the bloom effect in darker areas.
Size
Affects the amount of blur of the bloom effect
Burn
Affects the intensity of the bloom effect
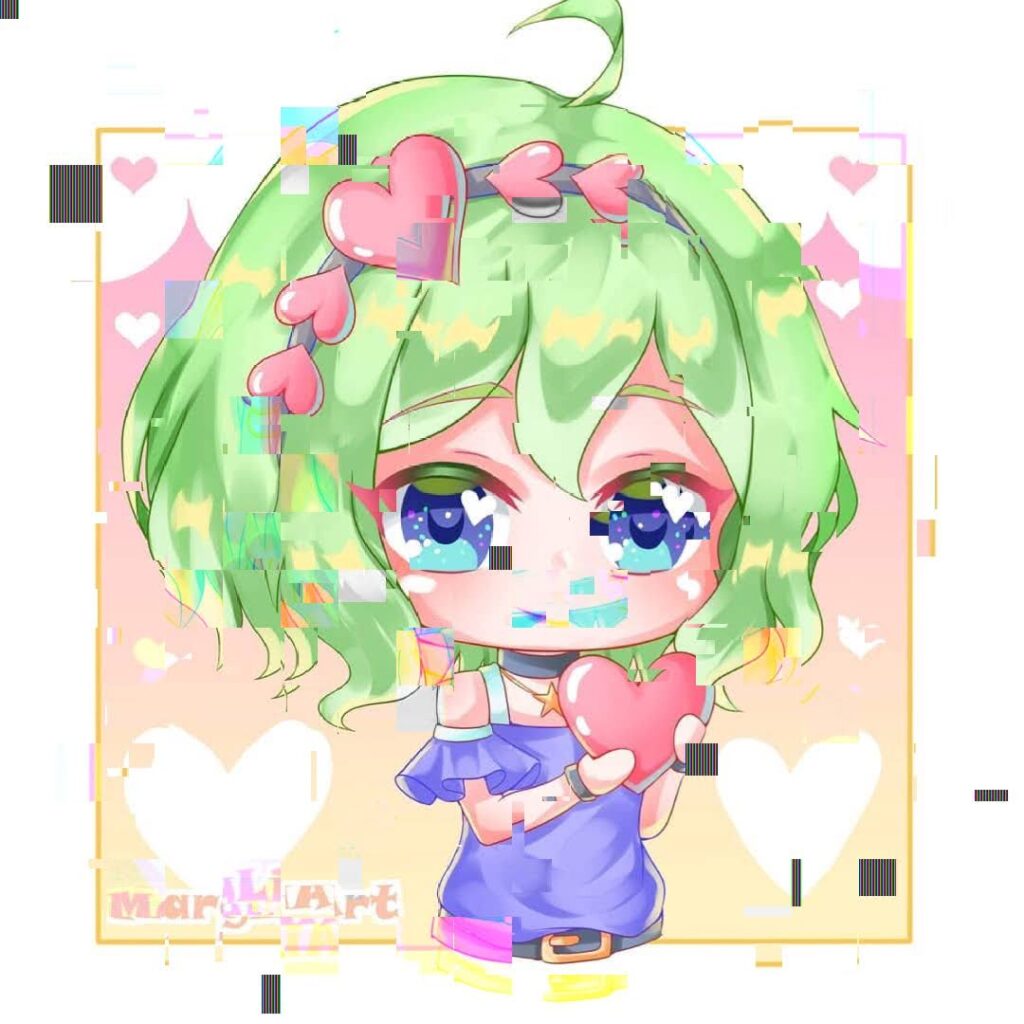
Glitch
The glitch effect gives your artwork a cool look. There are 4 different types of glitch effects: artifact, wave, signal and diverge.
To adjust the overall glitch effect, slide your finger or stylus left or right on the canvas. You’ll see the glitch percentage bar at the top change as you slide left and right.
Artiface 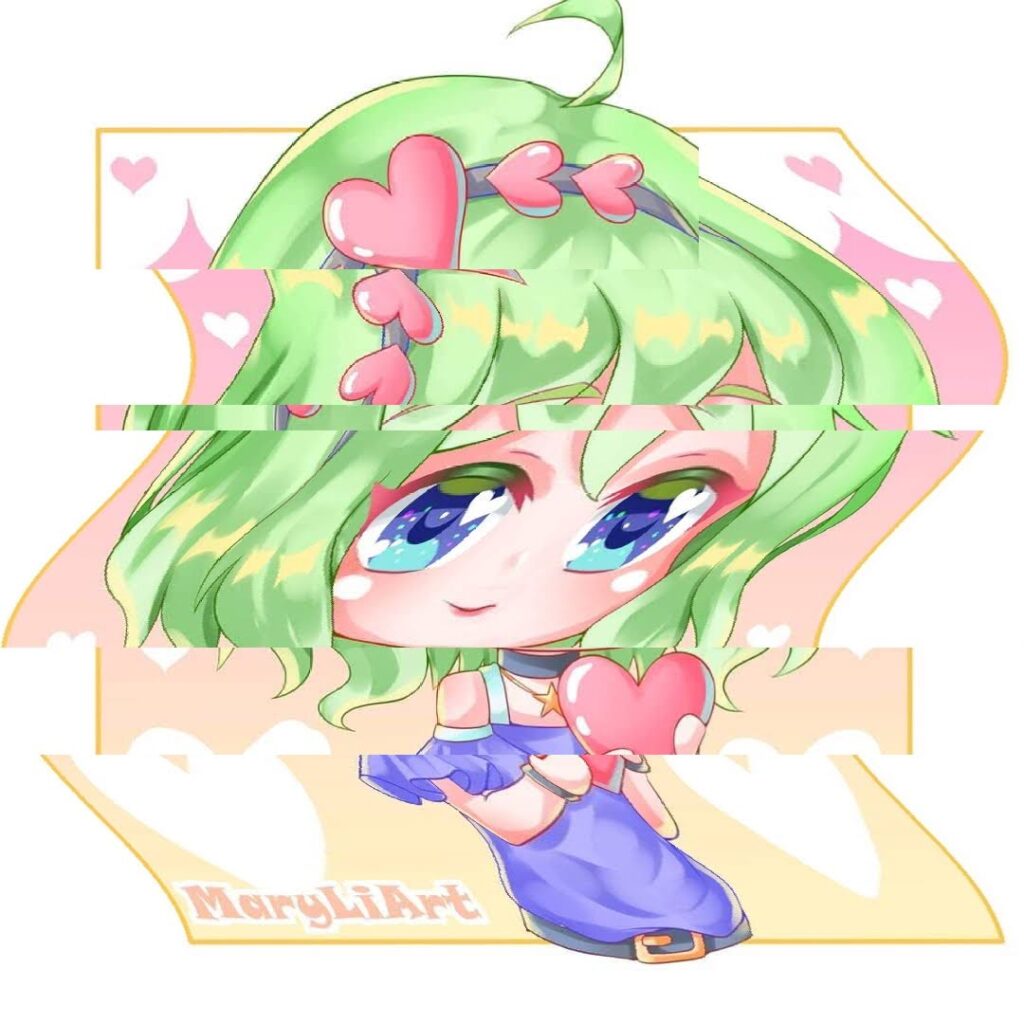
Wave 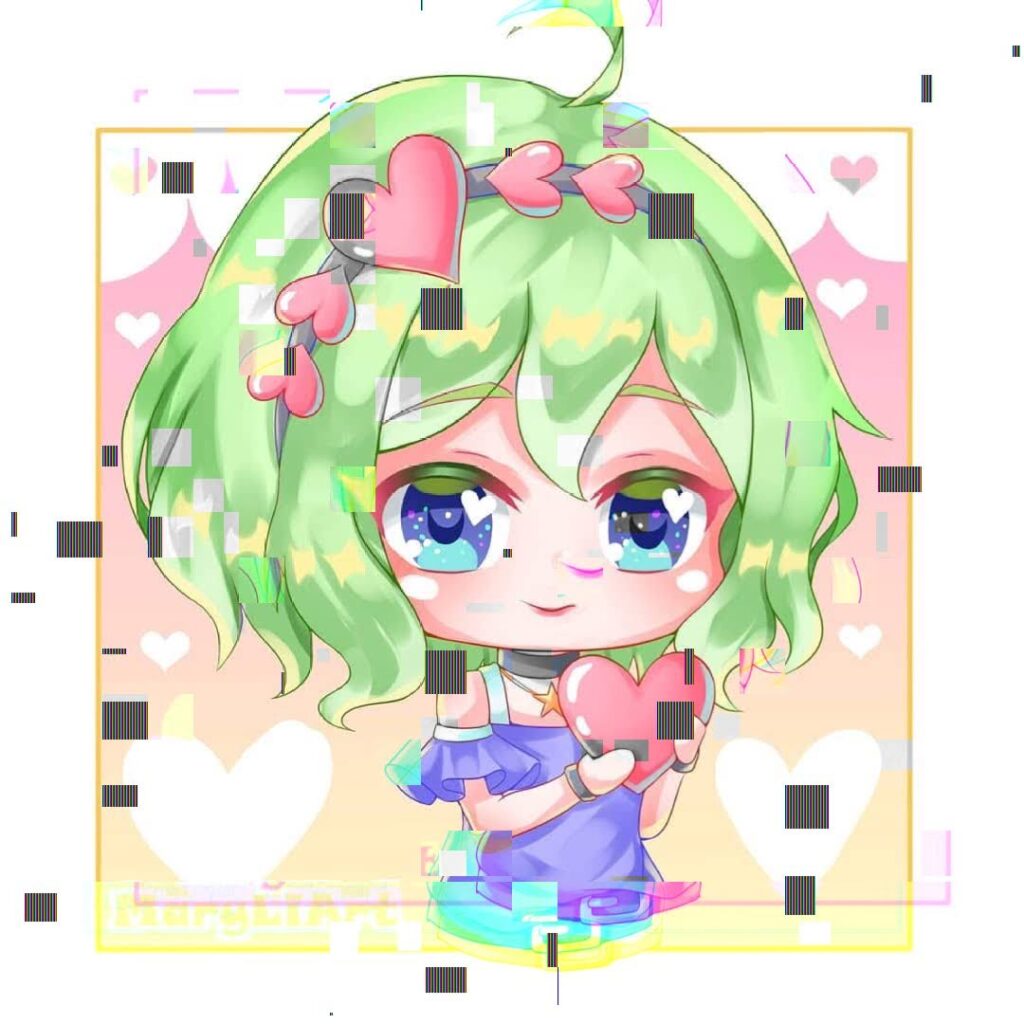
Signal 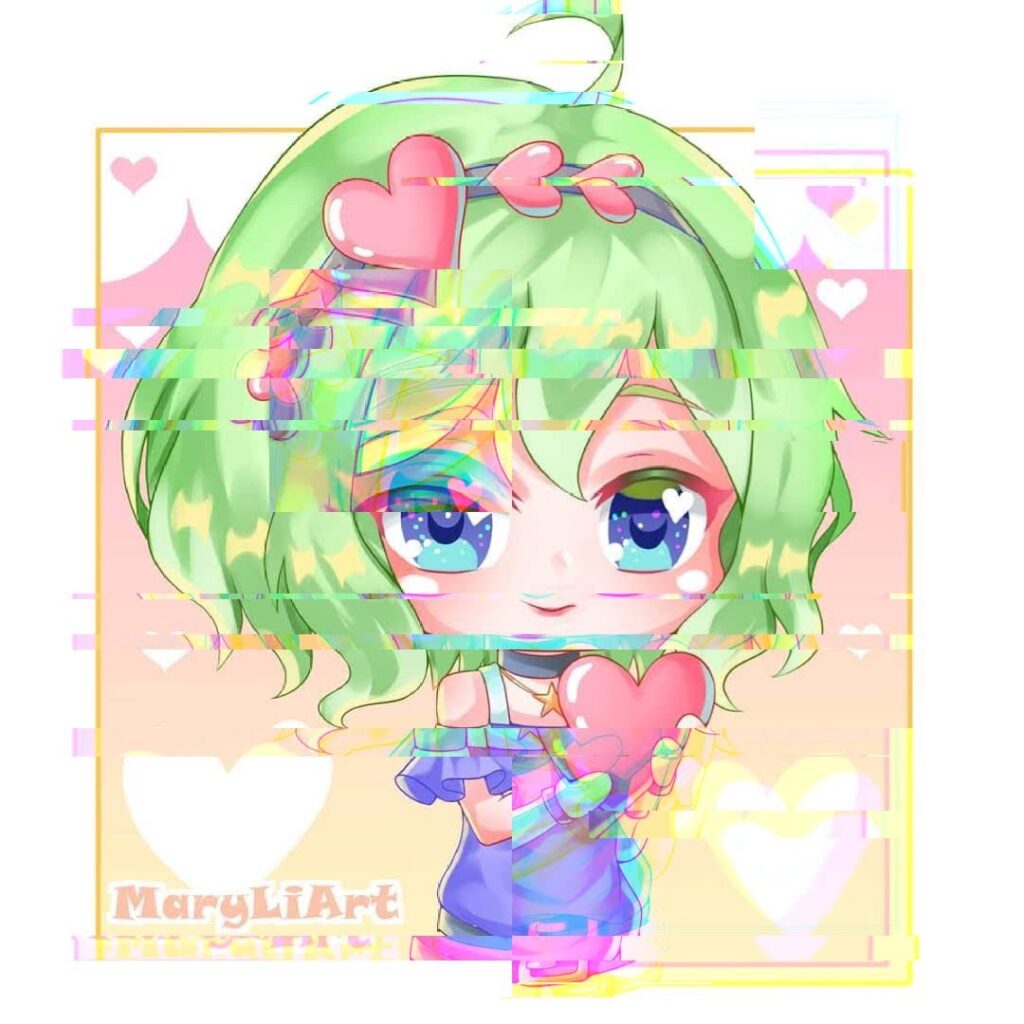
Diverge
Artifact and signal
You can change the amount of glitch, block size and zoom of the artefact and signal effect.
Wave
You can change the amplitude, frequency and zoom of the wave effect
Diverge
You can change the colour shifts and zoom of the diverge effect
The glitch effect can add alot of interest in your artwork! Play around with it and see how you like them!
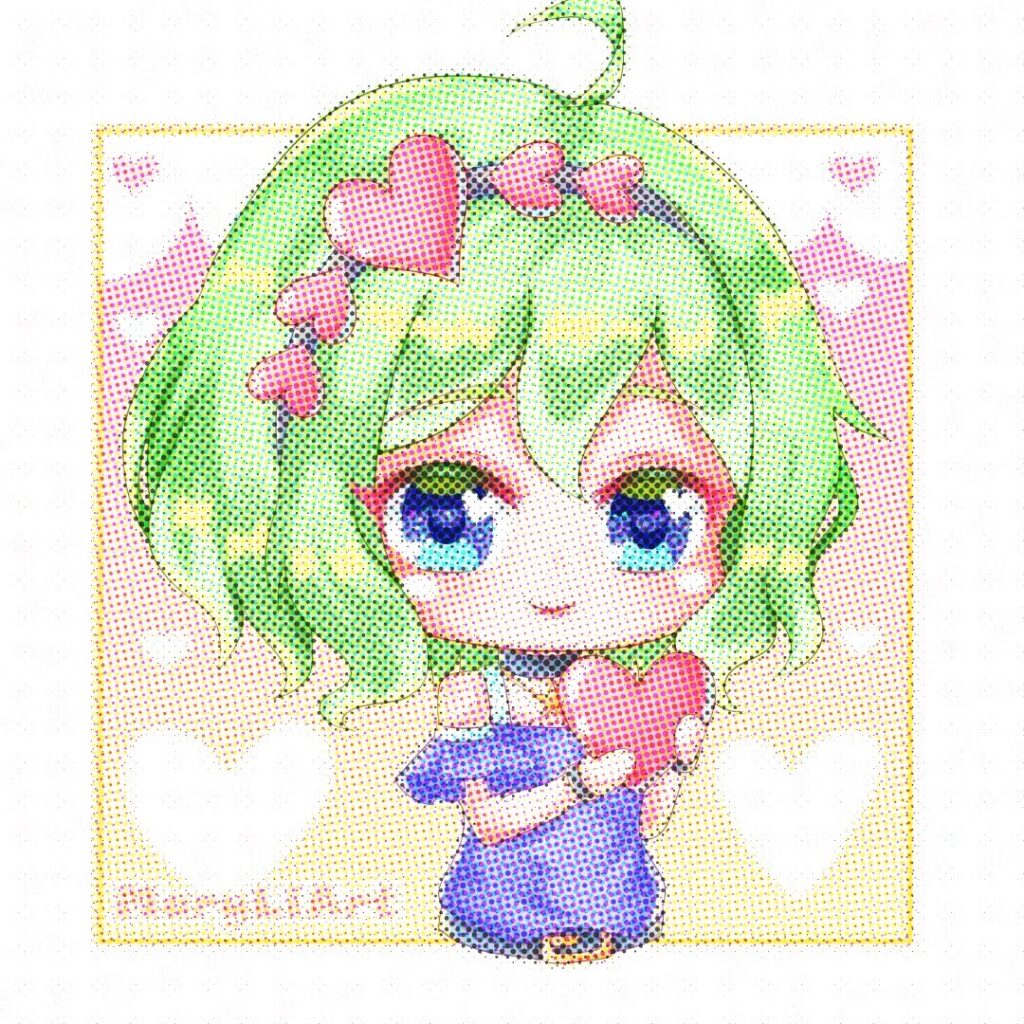
Halftone
This gives your artwork a cool retro print effect, there are 3 modes: full colour, screen print and newspaper.
Full Colour 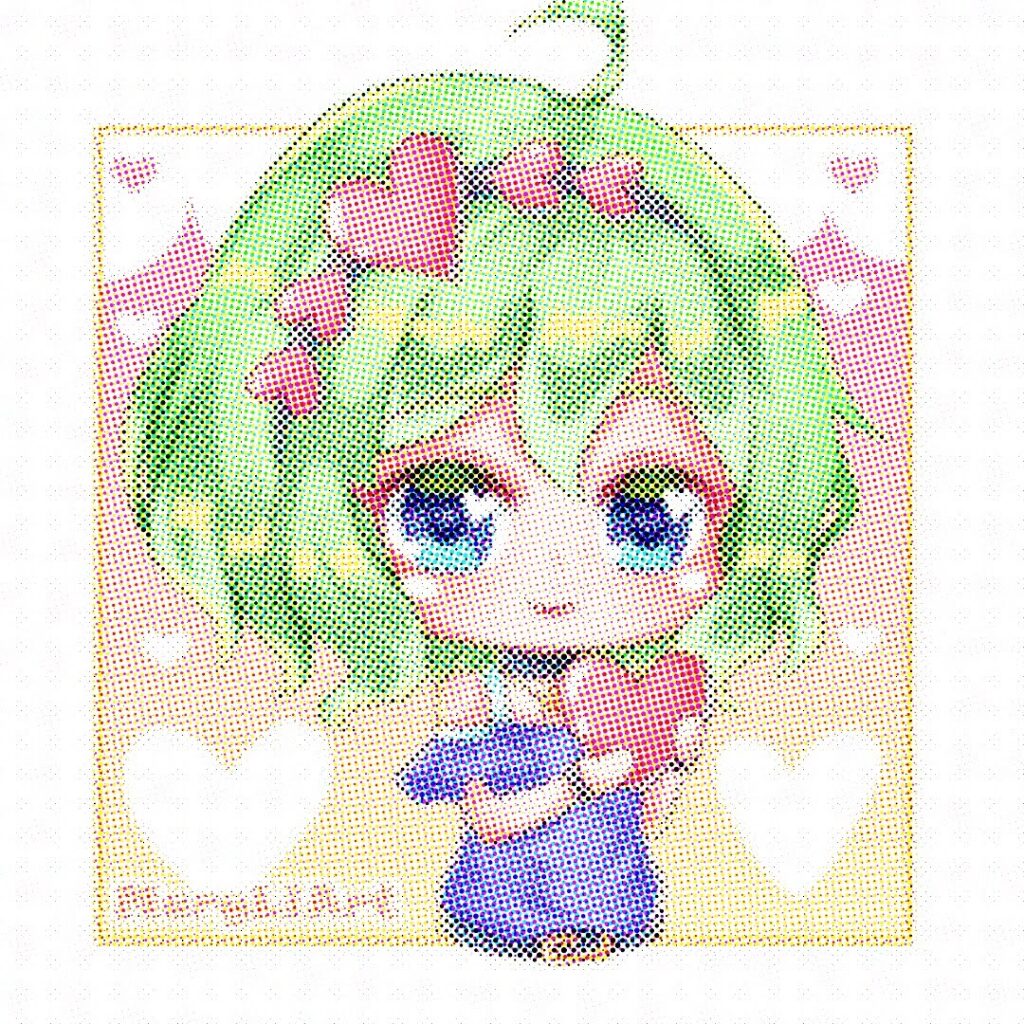
Screen Print 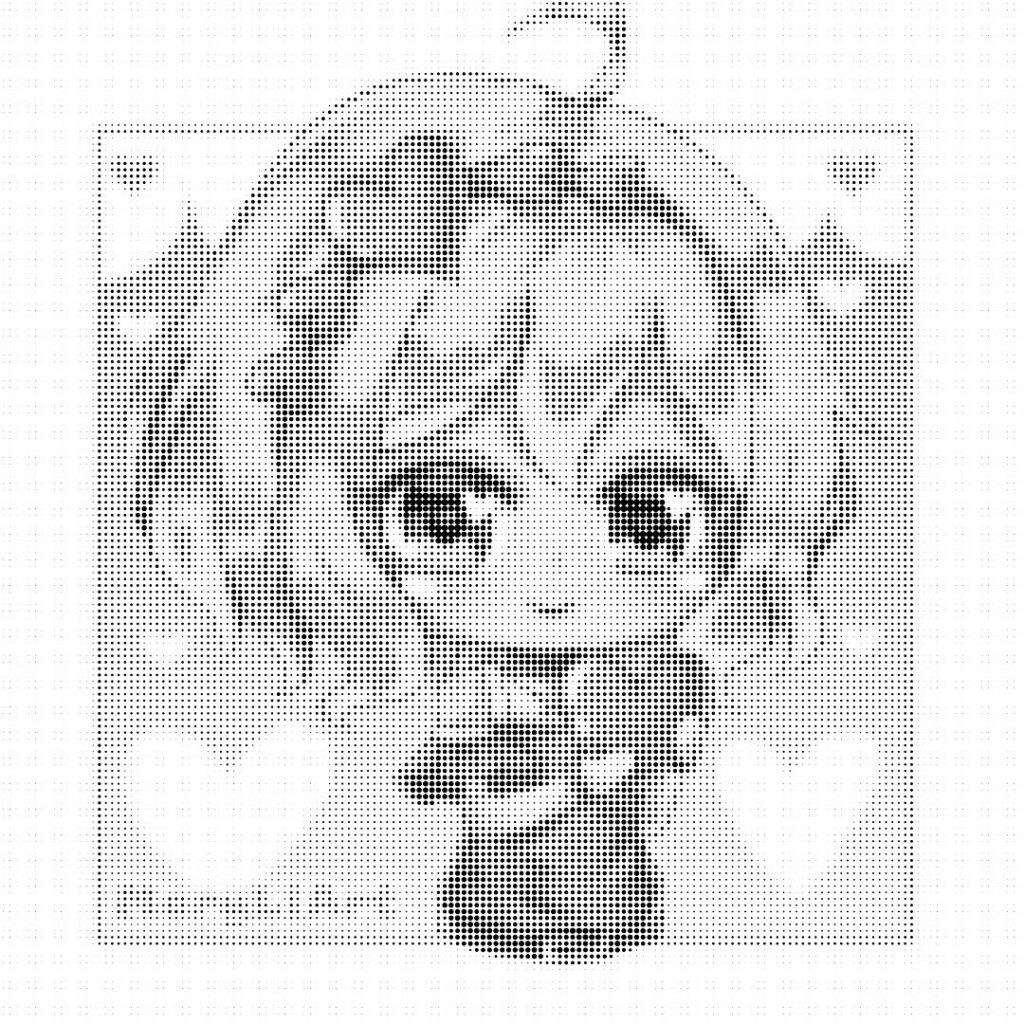
Newspaper
Side your finger or stylus left or right to adjust the percentage.
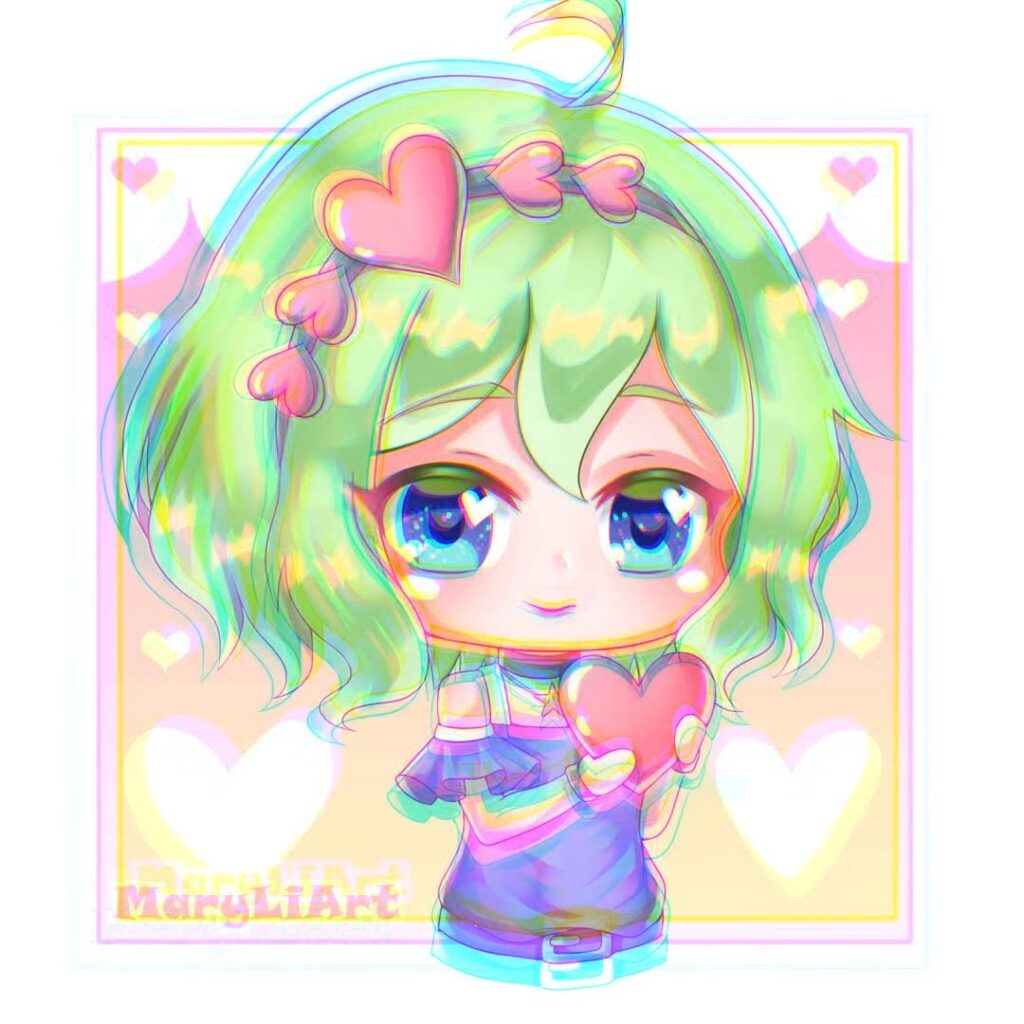
Chromatic aberration
This is another effect that you give your artworks more colour and interest. There are 2 modes: perspective and displace
Perspective
in the perspective mode, you’ll see a circle popup at the center of the screen, this is the focal point, you can drag it around the canvas.
Side your finger or stylus left or right to adjust the percentage of chromatic aberration.
You can adjust the transition and fall off in this mode.
Transition affects the amount of blur from the focal point
Fall off affects the amount of chromatic aberration applied from the focal point.
Displace
This effect doesn’t have a focal point, simply drag your finger or stylus around the artwork to move the chromatic aberration effect.
You can adjust the blur and transparency of the effect in this mode.
Clone
You can find this at the bottom of the adjustment tab. It paints selected areas on your canvas onto another. It’s similar to copy and paste but can be more useful depending on the situation.
In the clone mode, you will see a circle appear on the screen, drag the circle to where you want to start the area to be cloned. Then, with your finger or a stylus, paint where you want the cloned areas to be. Brush properties are carried over too.
Tap and hold on the circle to lock its location. In this mode, the starting point of the clone circle will always be from the locked area. When it’s unlocked, the clone circle moves around together with your brush.
Below is a video showing you how the clone tool can work.
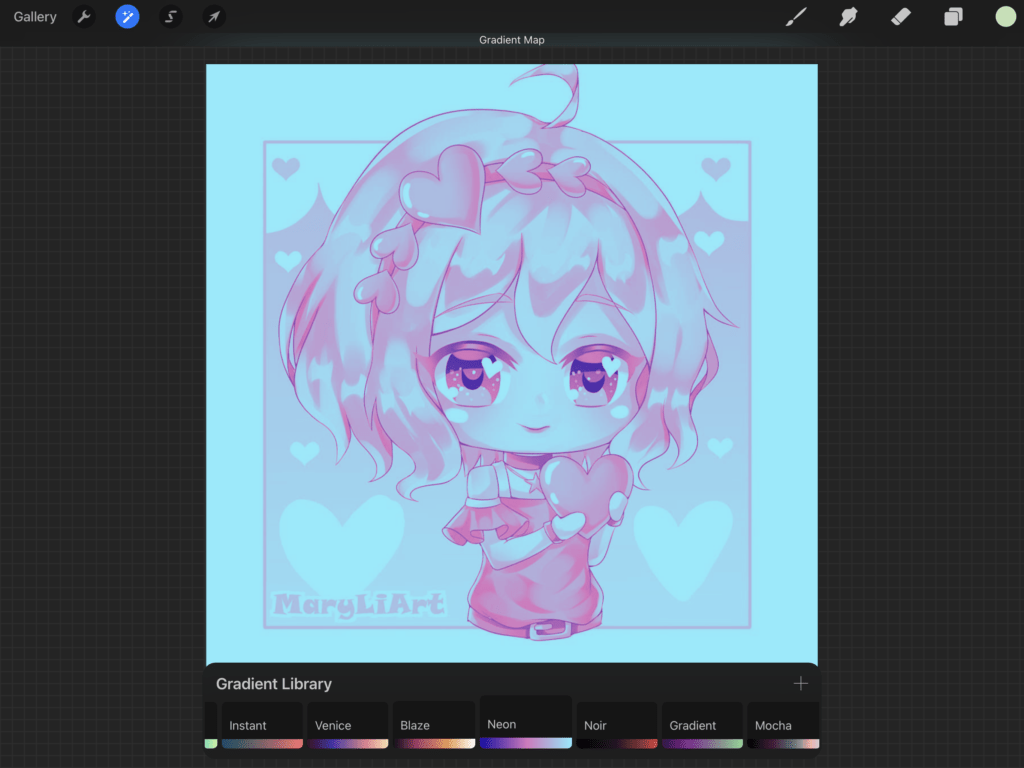
Gradient map
The gradient map function is added as another way for you to adjust colours in your artwork.
There are many preset gradient maps you can use and edit, or you can create your own!
Using the gradient map
First go to the gradient map mode by going into the adjustments tab and tapping on the gradient map option. A bar will come up at the bottom of the screen with preset gradient maps that you can choose from. Select one that you want to use. You can also adjust the present ones by tapping on the chosen one again.
To create your own gradient map, tap on the + sign at the top right of the bar.
Editing the gradient map
In editing mode, you will see a gradient bar with 2 squares. You can change the colours by tapping on the squares and a colour wheel will come up. To add a square, simply tap anywhere on the gradient bar. You can have up to 12 in total. You can also slide each square around to adjust the colours.

I will not go into details on how gradient maps work in this post, I will talk about it in a future post with more details.
Reference box
You can now add reference photos and have them not show up in your timelapse! It also shows you a small preview of the whole drawing.
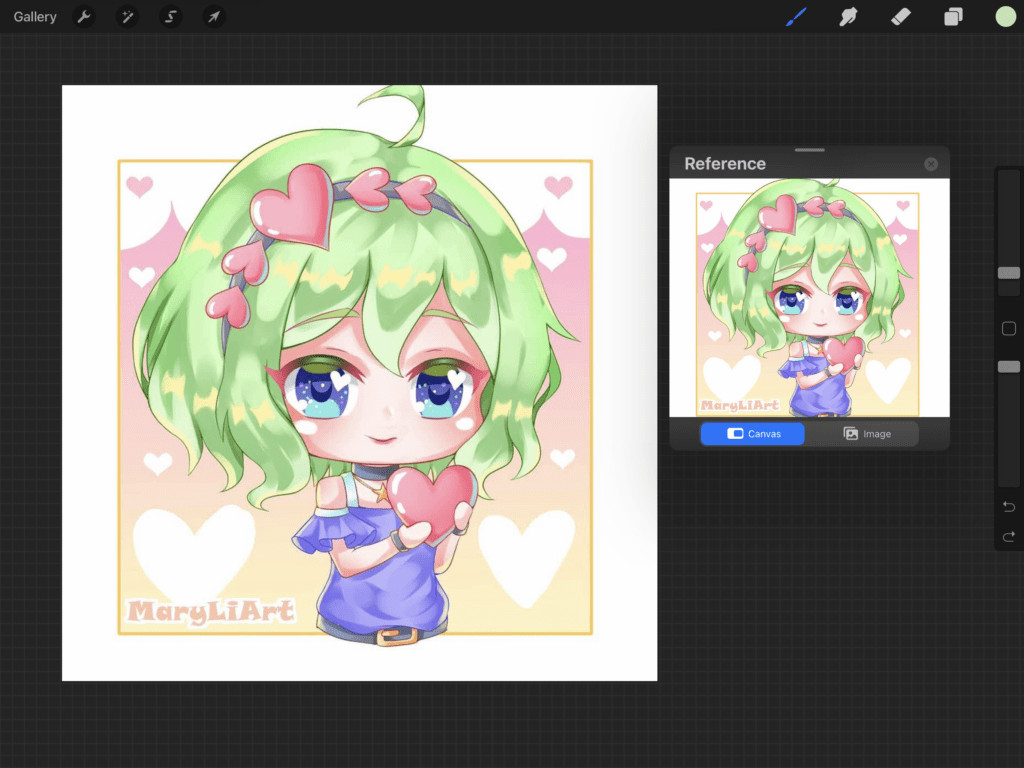
You can activate it from: Actions -> Canvas -> Reference. Once you’ve turned it on, you should see a box pop up with a preview of your drawing.
At the bottom of the box, you should see 2 tabs: canvas and image. tap on the image tab where you can then import your reference photos.
The reference box is always on top and you can drag it around anywhere on your screen area. Simply tap and drag on the bar at the top of the box.
You can also resize the box by taping and dragging the bottom 2 corners
You can zoom in or out on the images in the reference box.
Single tap in the reference box to hide options for more display area, single tap again to show them again.
To remove the reference box, simply tap on the x at the top right of the box or turn in off in the actions -> Canvas -> reference tab
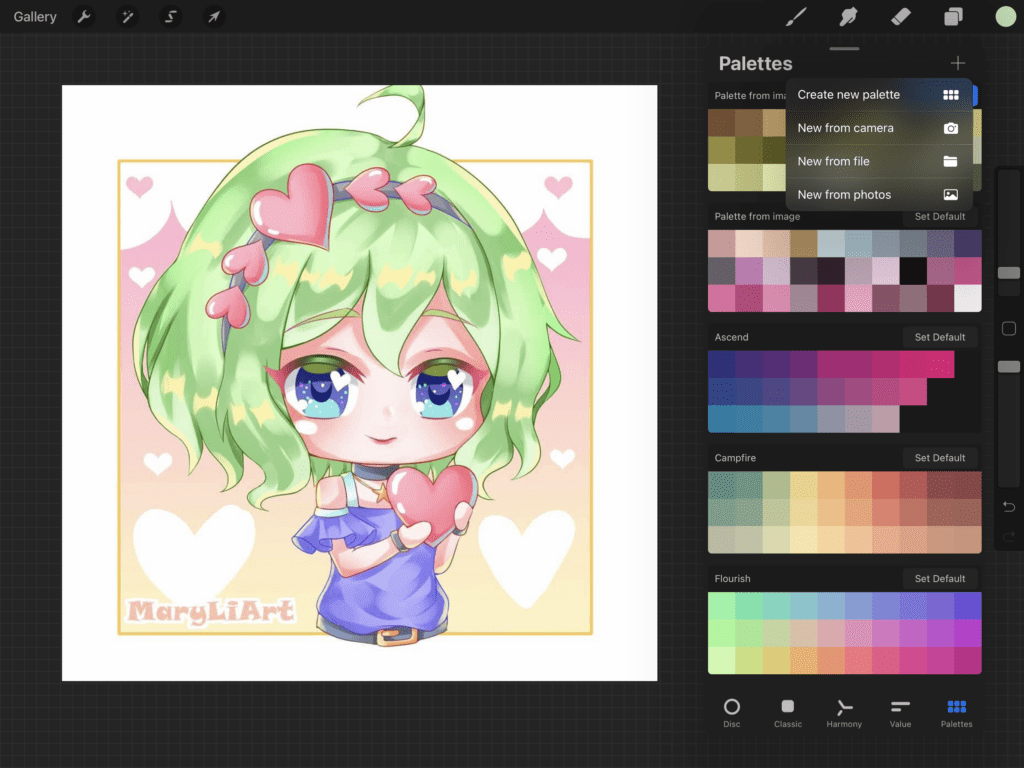
Instant palette
This is another exciting new feature for me. The instant palette creates a colour palette from an image. So if there’s an image you like and want to use the colours in them to create a similar feel, you can do that with instant palette.
To create a palette from an image, go to colours -> palettes(bottom right of the pop up box) -> +sign at the top right
You can create a palette from camera, from your photos or from a file.
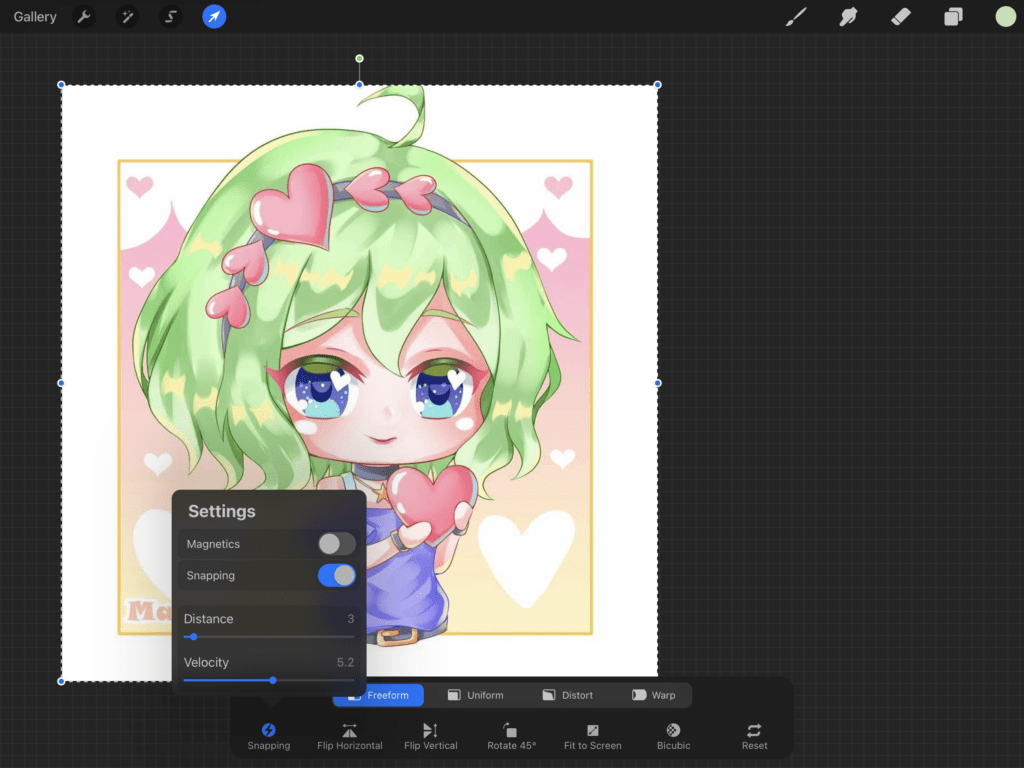
Snapping
This effect is added to the transform tools. To activate it tap on it to open the settings and turn the snap on. You can also set the magnetics on or off and adjust the distance and velocity of the snapping.
Snapping
This function helps you to move your selections around easily, it will help snap them to the corners of the canvas, centre of the canvas or move along the centre lines or the edges. You will see orange guidelines show up as you move your selection close to those positions.
Magnetics
This allows you to move your selections along the blue guidelines that appear to help with your positioning.
Distance
Affects the distance between the guideline and your selection before snapping occurs.
Velocity
Affects the speed at which you have to move your selection before snapping occurs.
Personally, I have my distance set pretty low and velocity somewhere in the middle. Test it out for yourself and see which combination you are most comfortable with.
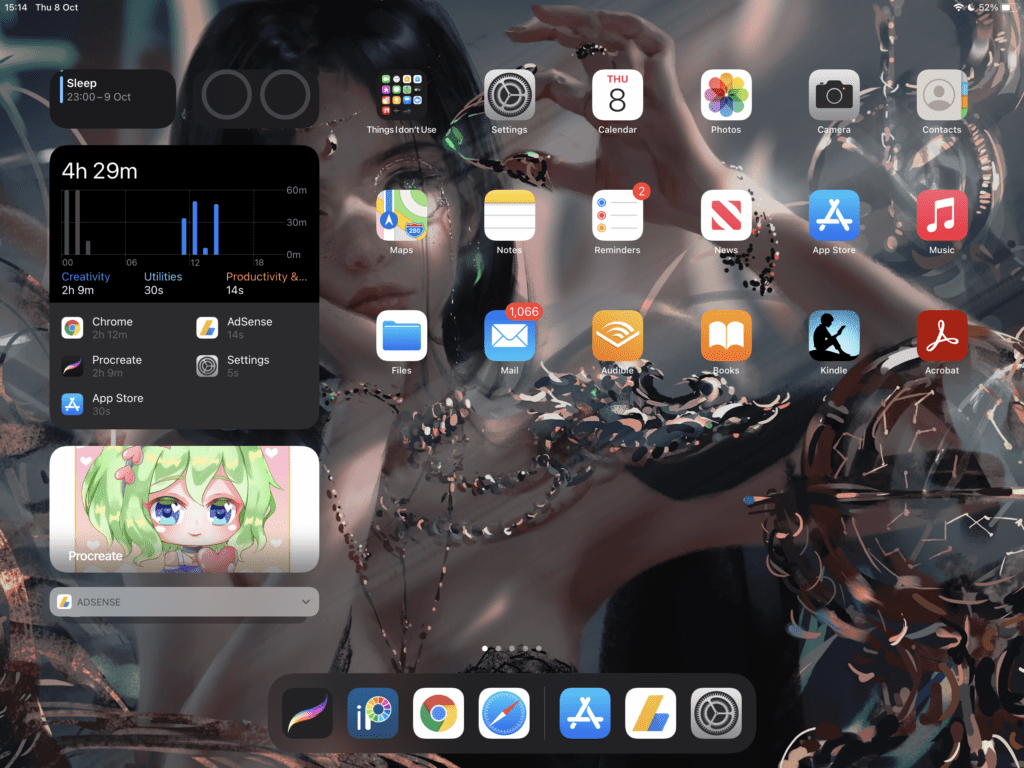
Widget
This function lets you add the procreate app as a widget on your iPad’s home page. The widget will show the artwork that you’ve worked on most recently. When you tap on the widget, the Procreate app will open and it will also automatically open up that artwork for you to work on straight away.
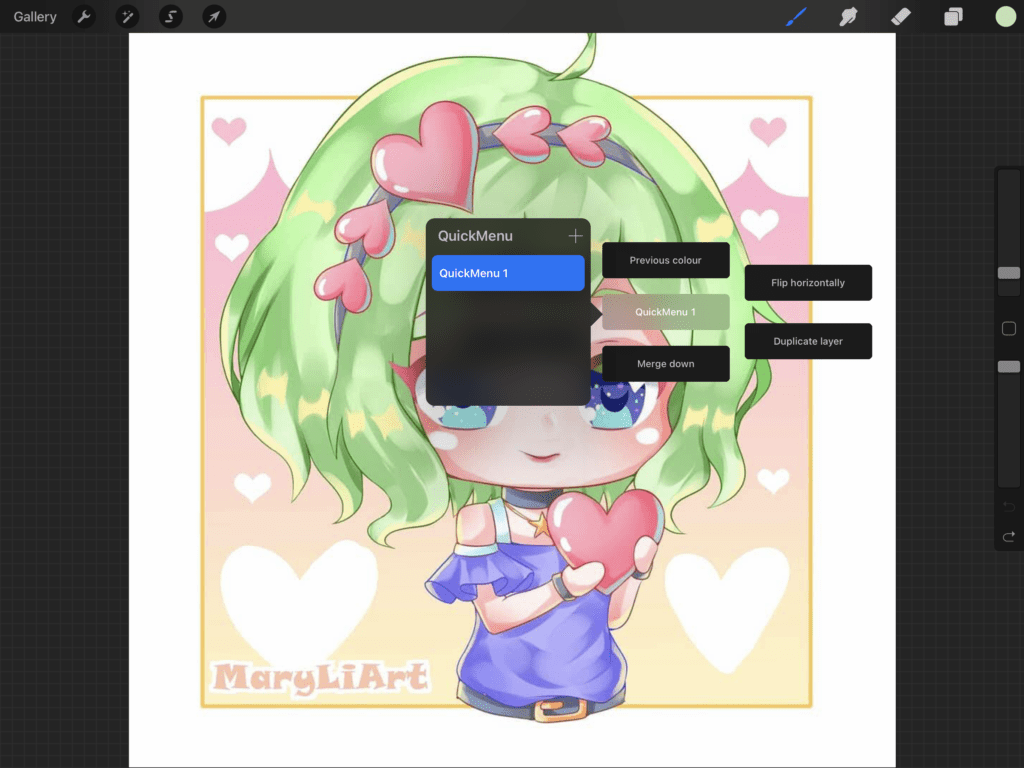
Quick menu
You can now add multiple quickmenu profiles to speed up your workflow!
To add a new quick menu profile, first go into the quick menu mode, tap on the centre tab, you will see a list of available quicker profiles. Tap on the + at the top right to create a new quick menu profile.
To change the name of a quickmenu profile, first select it, then tap again on the name to change it.
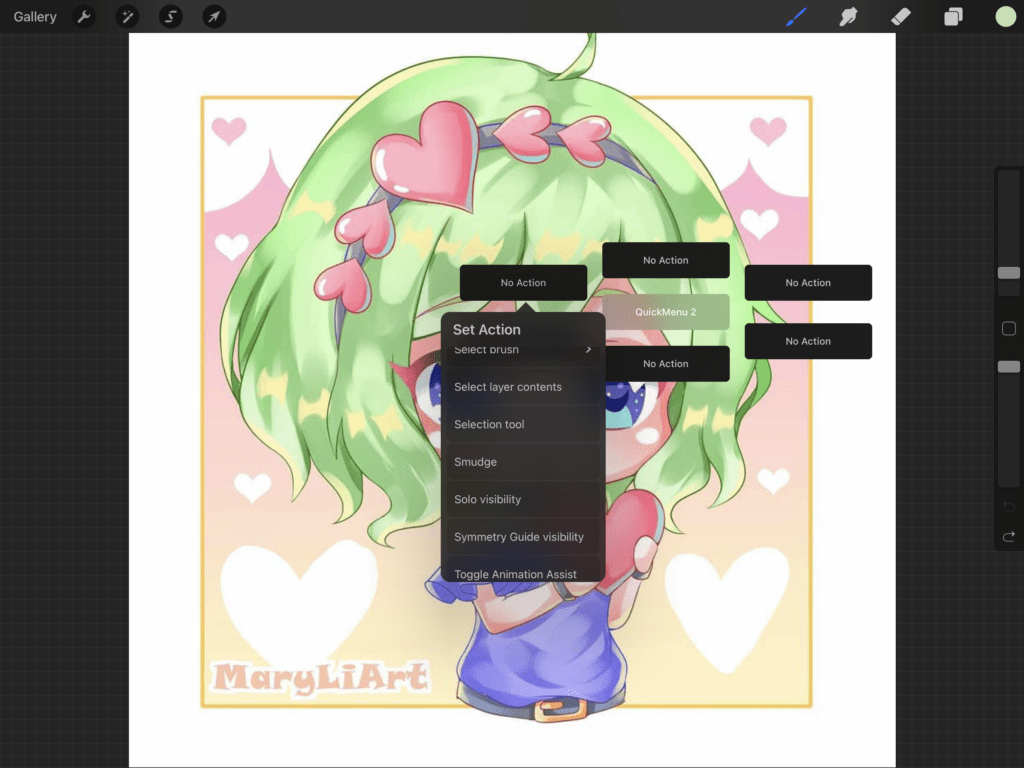
To add or change actions in a quickmenu profile, simply tap and hold on the tab you want and a list of actions will show up for you to choose from.
To delete a quicker profile, open the list of quick menus, slide left on the menu profile that you want to delete, you will see a delete option in red. Tap on the delete button and the quickmenu profile will be deleted.
I don’t usually use the quick menu much but now with the increase in customisation, I will definitely be using the quick menu alot more to speedup my drawing process.
The Procreate app have been addding many useful features throughout it’s updates and I am excited to use the app more and to see what comes next!
I hope you’ve enjoyed reading this post and has found it useful. If you purchase anything through the affiliate links that I’ve provided, I’ll get a small amount of commission (at no extra cost to you!) which helps me continue writing art-related blog posts and tutorials like this one.
You may also be interested in:
- List of Procreate tutorials
- Digital Painting for Beginners
- My Digital Painting Set up, Tools and Software

Support me on Ko-fi! Your donations and support mean a lot to me and it helps me keep doing what I’m doing!
Like my artworks? You can get them in prints, stickers or badges form on my Etsy shop!
Follow me on Instagram to see more of my art!


2 Responses
Where are the filter when I select the pencil in the adjustments? Nothing seems to happen when I select this tool.
Hi Lauren! The adjustment options should show up at the bottom of the screen after selecting the pencil option. I’ve just tried it again myself. I’m sorry I can’t answer your question! If you can provide me with a screenshot or video capture of you trying it out maybe I can then help you better. Feel free to send me an email at maryliart@gmail.com !