
Most artists want to draw better, with enough practice and determination, getting better in art is only a matter of time. In this post, I will be talking about some helpful tools that can help artists in their artistic goals.
I’m not talking about the essential tools that you need for making your artworks like brushes, paint, paper etc. The tools I mention below are not necessary to have, but it will definitely help improve your artwork or speed up your process, especially if you’re a beginner. They are not a must have, but if you are serious about getting better or have some cash to spare, these tools are nice to have. I have personally used most of the tools I mention below so I’ll be able to give some personal experiences as well.
Scale divider
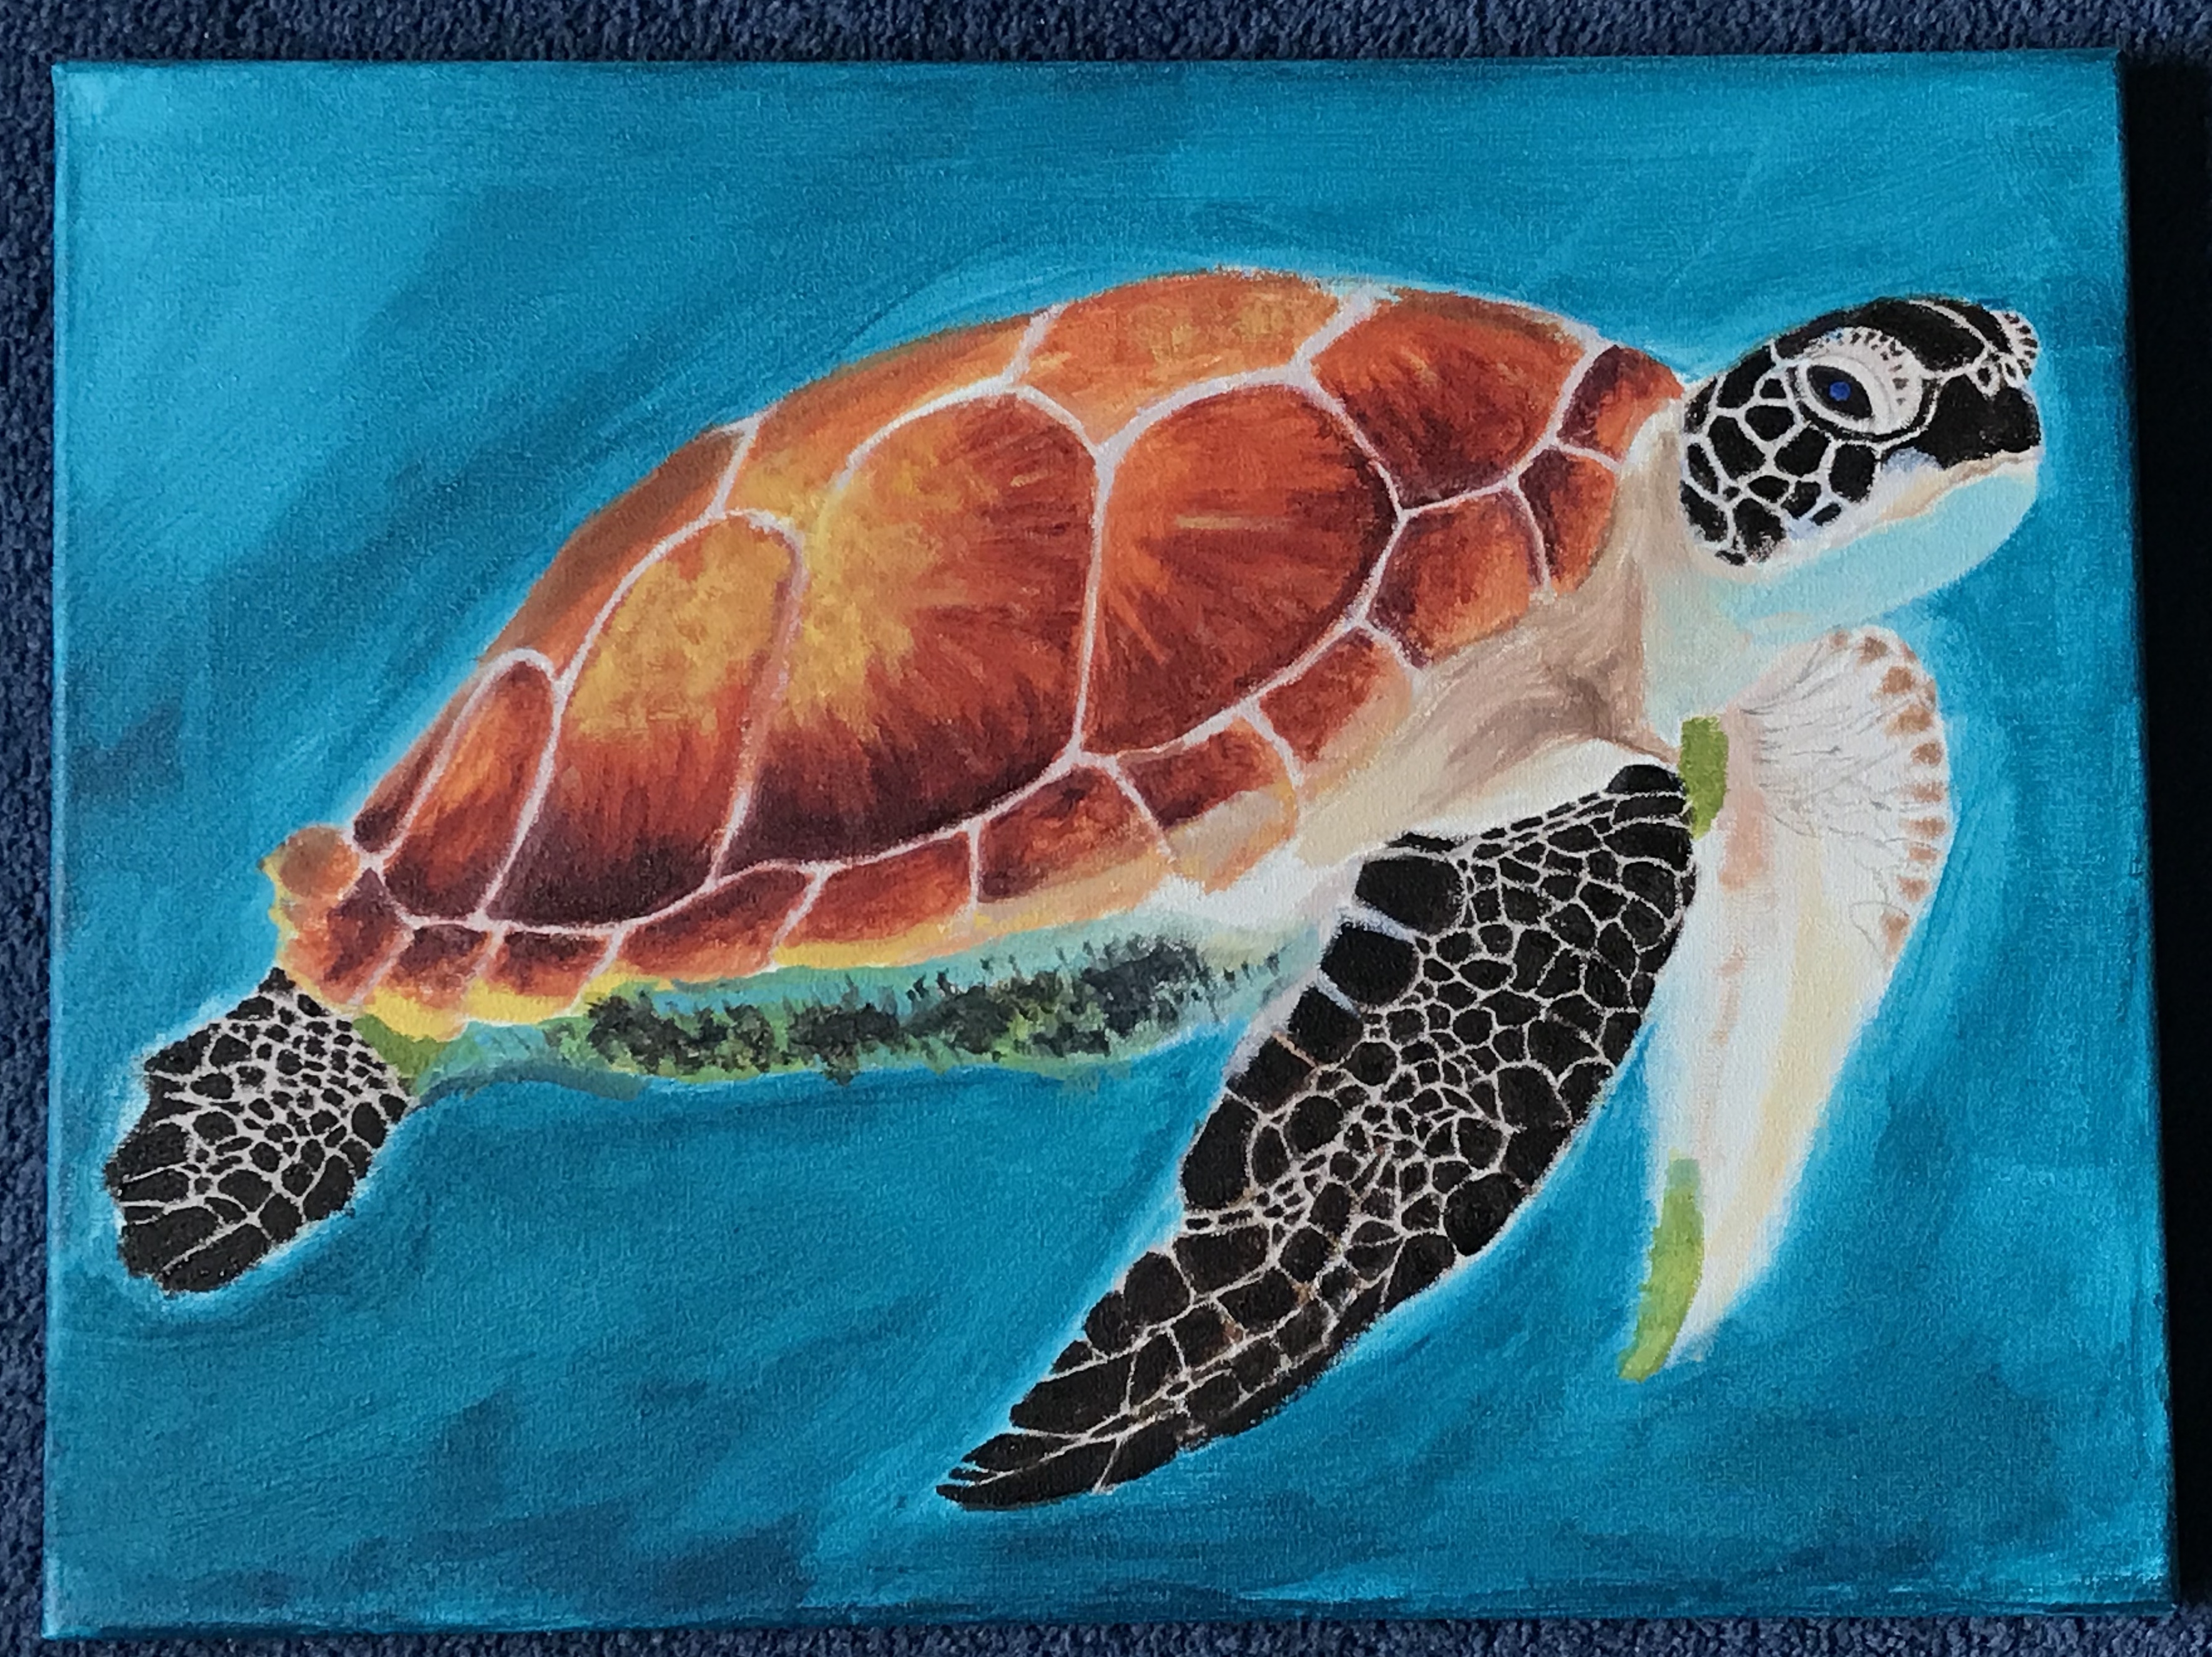
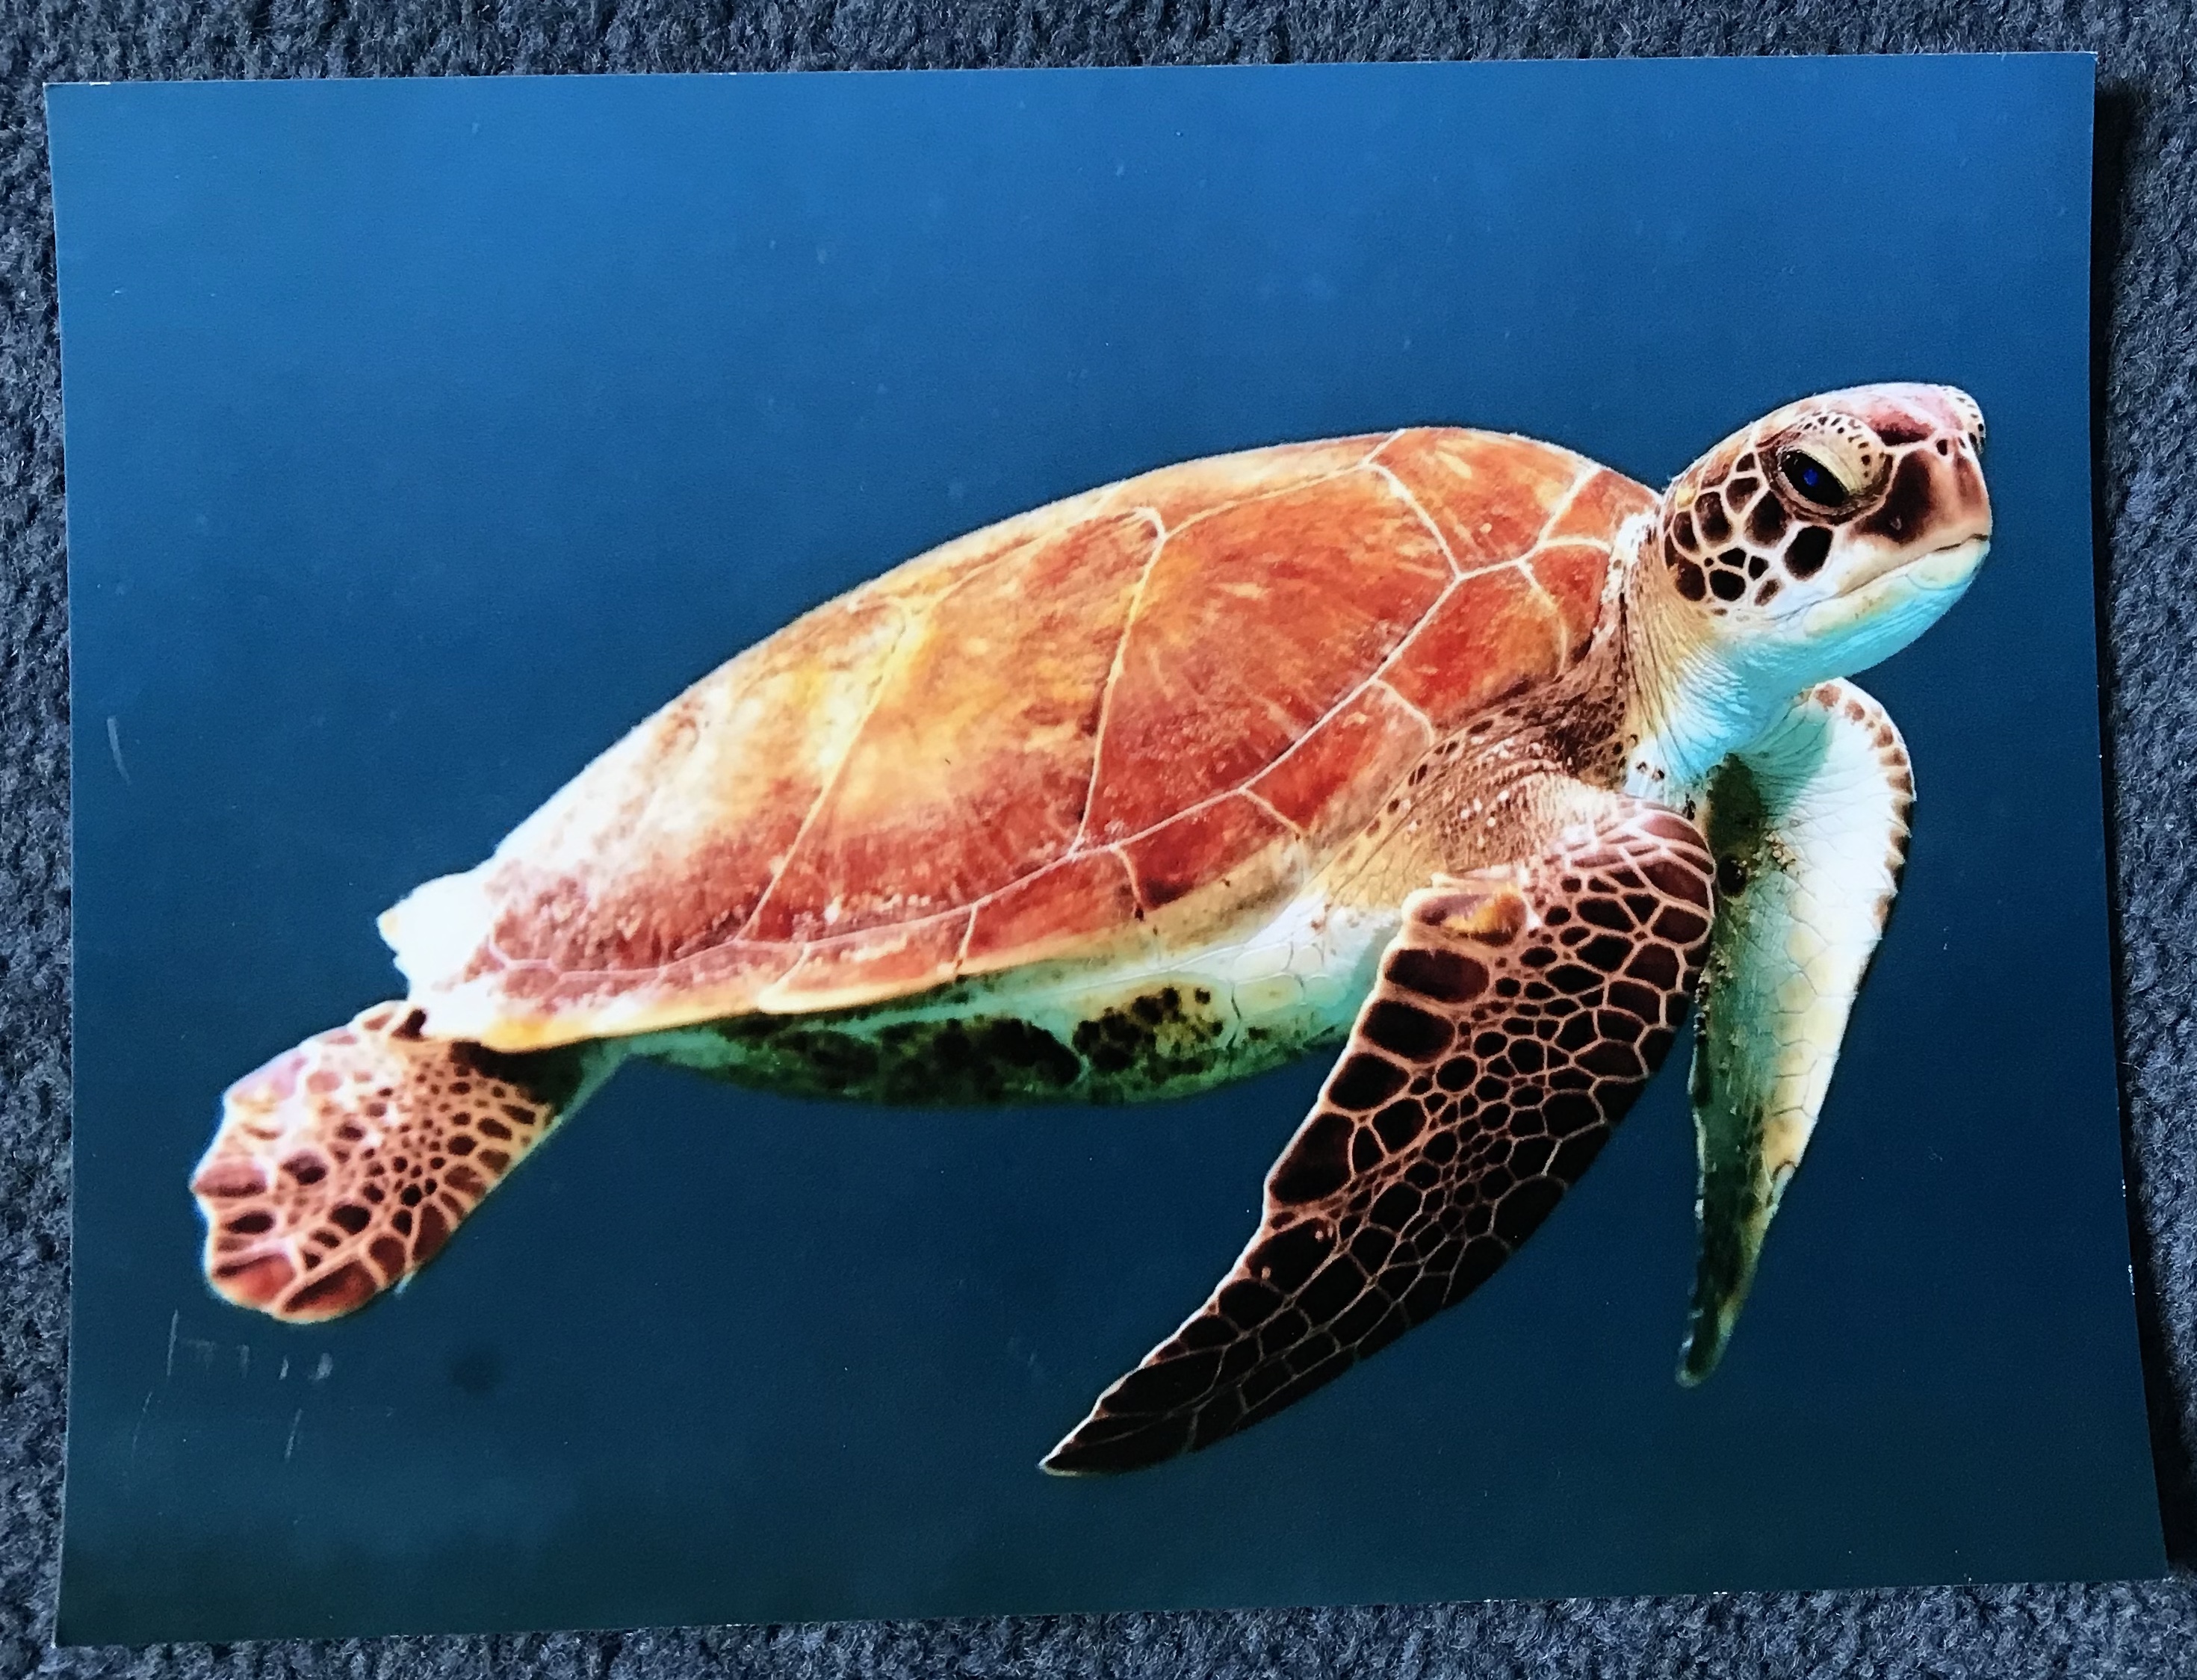
This tool is useful when you have a problem with getting accurate proportions. It scales your reference photo in proportion to how much bigger you want your artwork to be compared to the reference photo. With this tool, you can easily produce good proportions. I use the Derwent Scale Divider for pre-sketches when I’m oil painting. I don’t really want to spend to much time outlining when I’m oil painting, so I use the scale divider to speed things up and get on with the fun stuff, the painting. Below is an unfinished oil painting and it’s reference photo, the proportions were pretty good. The reference photo is 1/4 the size of the painting.
The scale divider has 2 ends and usually a nob in the center which you can adjust for different ratios.
To change the scale ratio, unscrew the yellow nob till it’s movable and place it where you want it to be, then tighten it by screwing it. One end is used to get the proportion from the reference photo and the other end scales to your desired size. When you’re using the scale divider, you won’t have to worry about proportions.
Colour wheel
If you’re working with colour, a colour wheel will be a very handy tool to have. There are many different kinds of colour wheels out there, they may vary a little but mostly they have similar functions. They are interestingly designed, quite interactive and packed with useful information. Personally, I use the Daler Rowney pocket colour wheel. It gives me a quick refresh of colour theory and helps me when I’m having some trouble with values or colour mixing.
Most colour wheels will have 2 sides. One side tells you about colour relationships and another is a guide to colour mixing. On each side there is an outside wheel and an inside wheel. The inside wheel is rotatable.
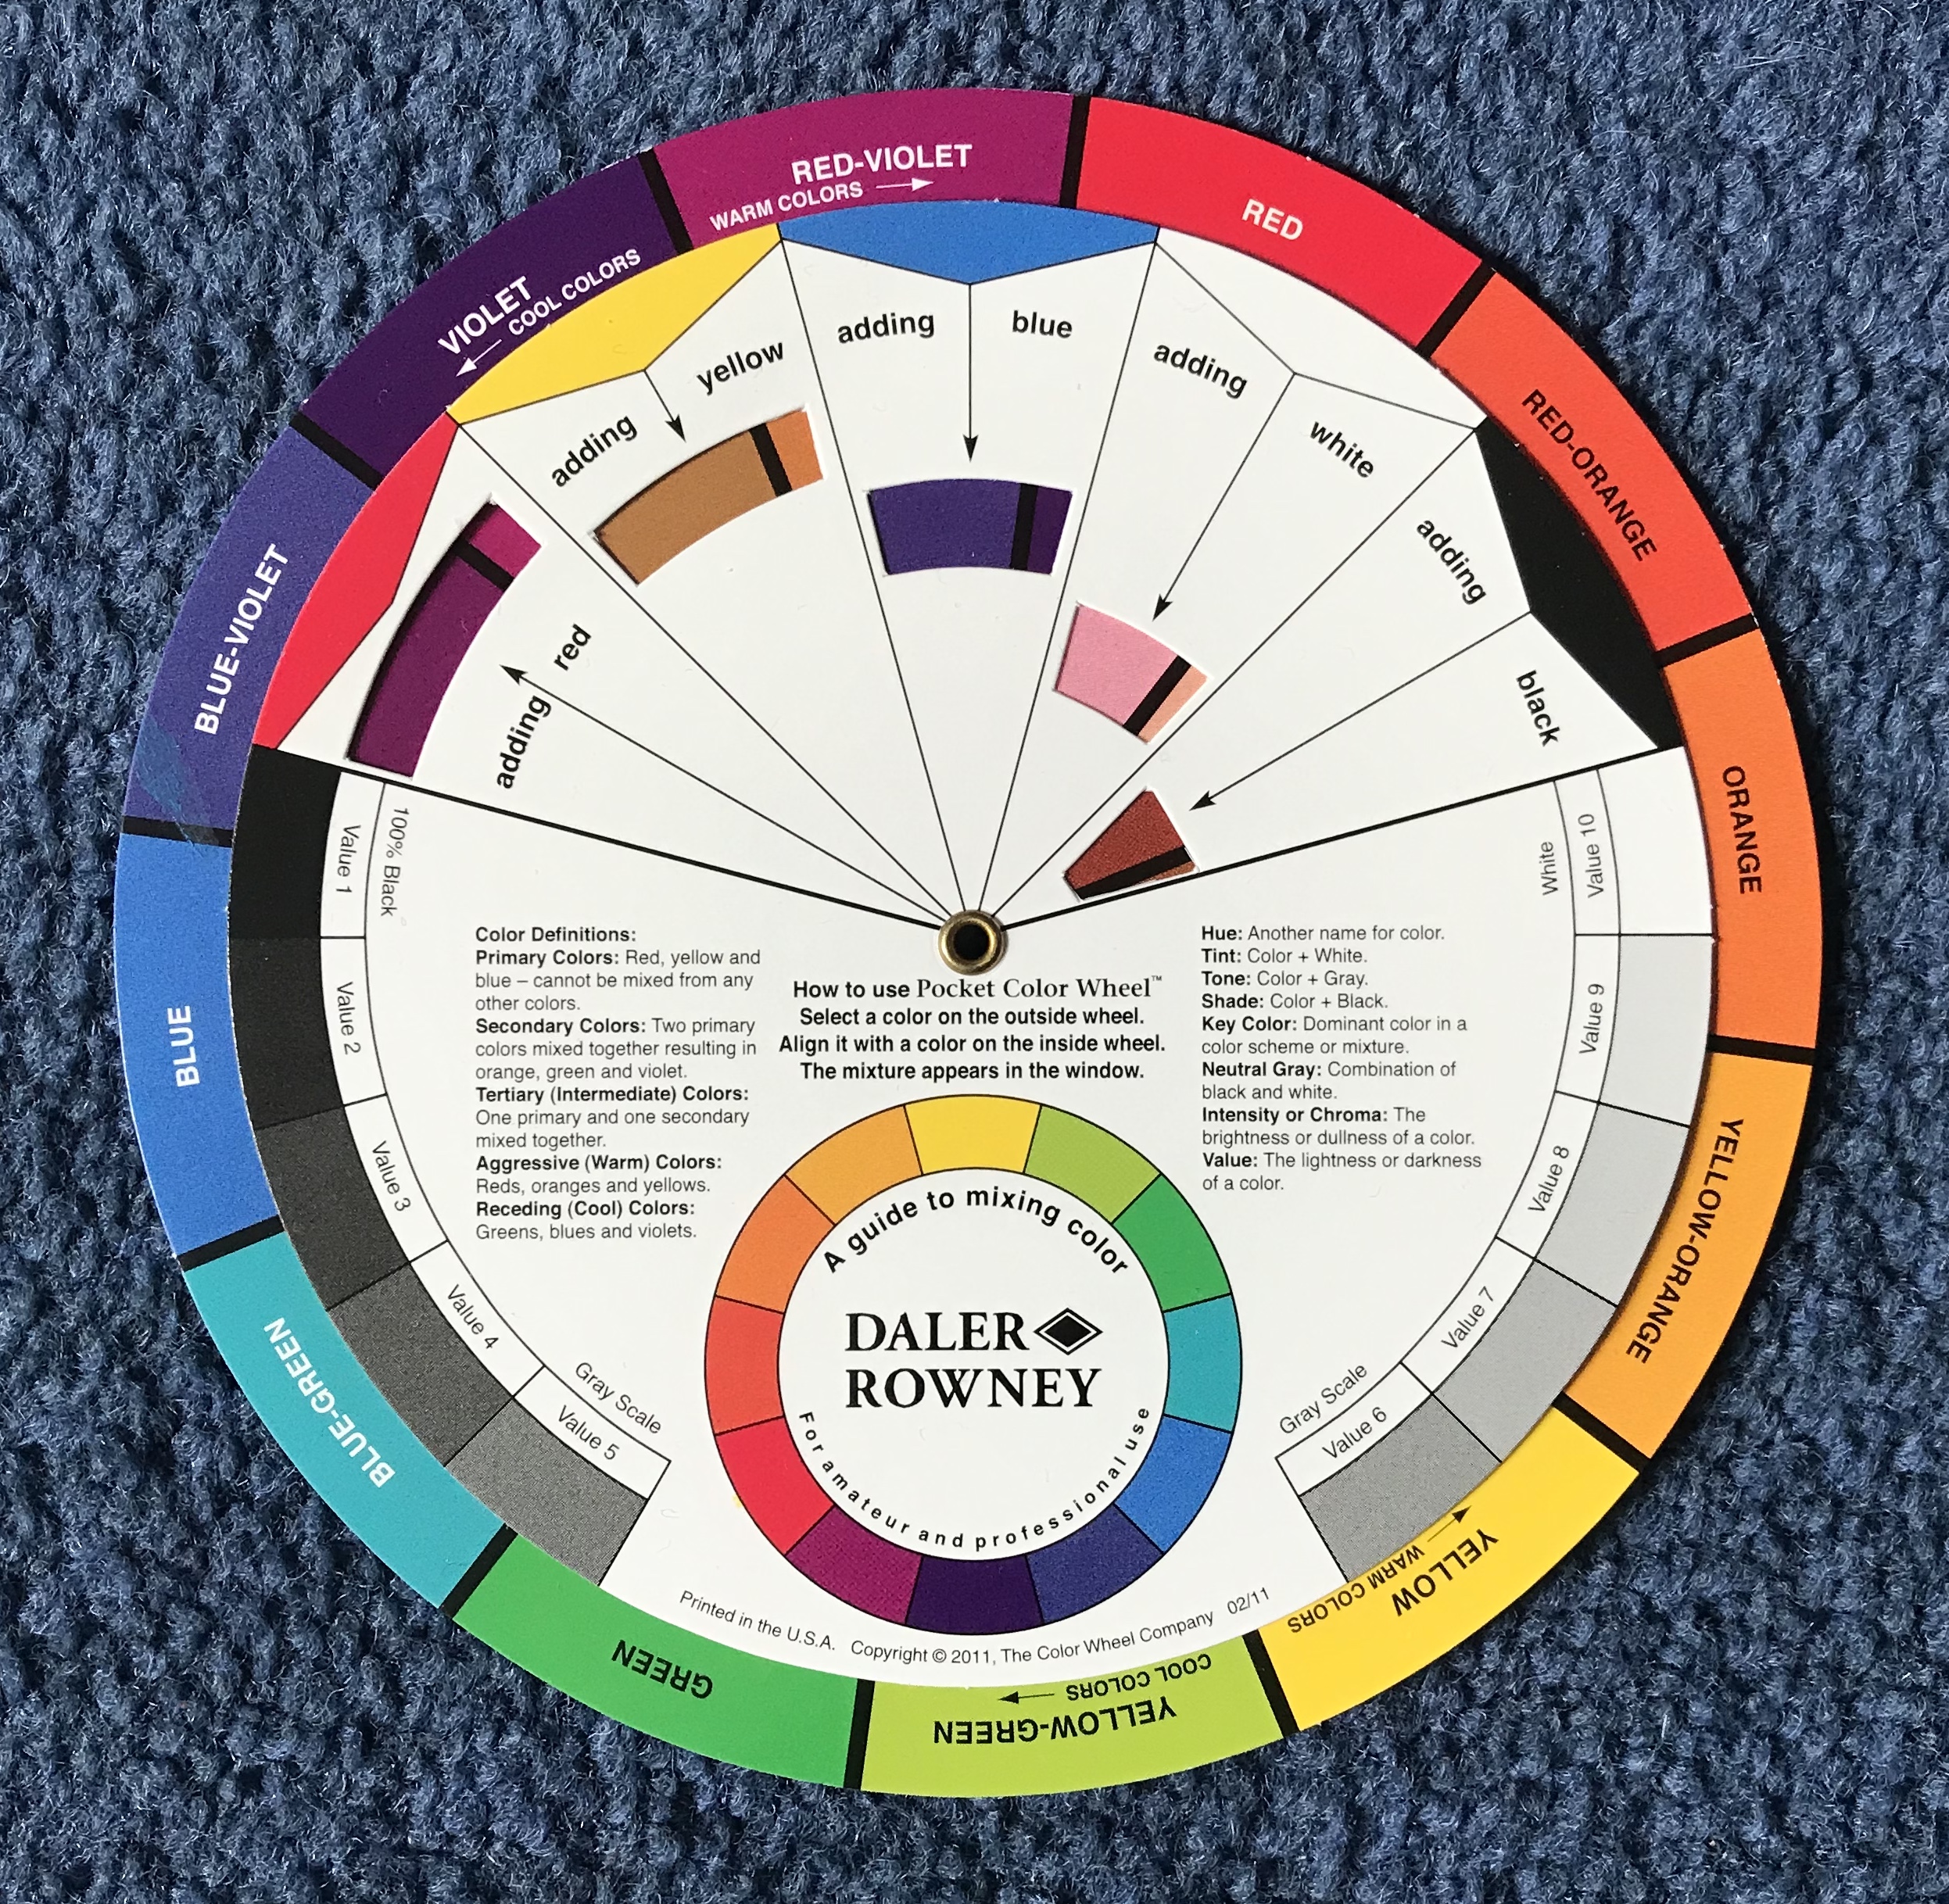
The colour mixing side tells you the result of mixing 2 colours. Each colour on the inside wheel has a rectangular opening where it’s resulting colour with the colour above it on the outer wheel is. Rotate the inner wheel for different combinations. It also tells us what the warm and cool colours are, brief explanations on colour theory and a value scale.
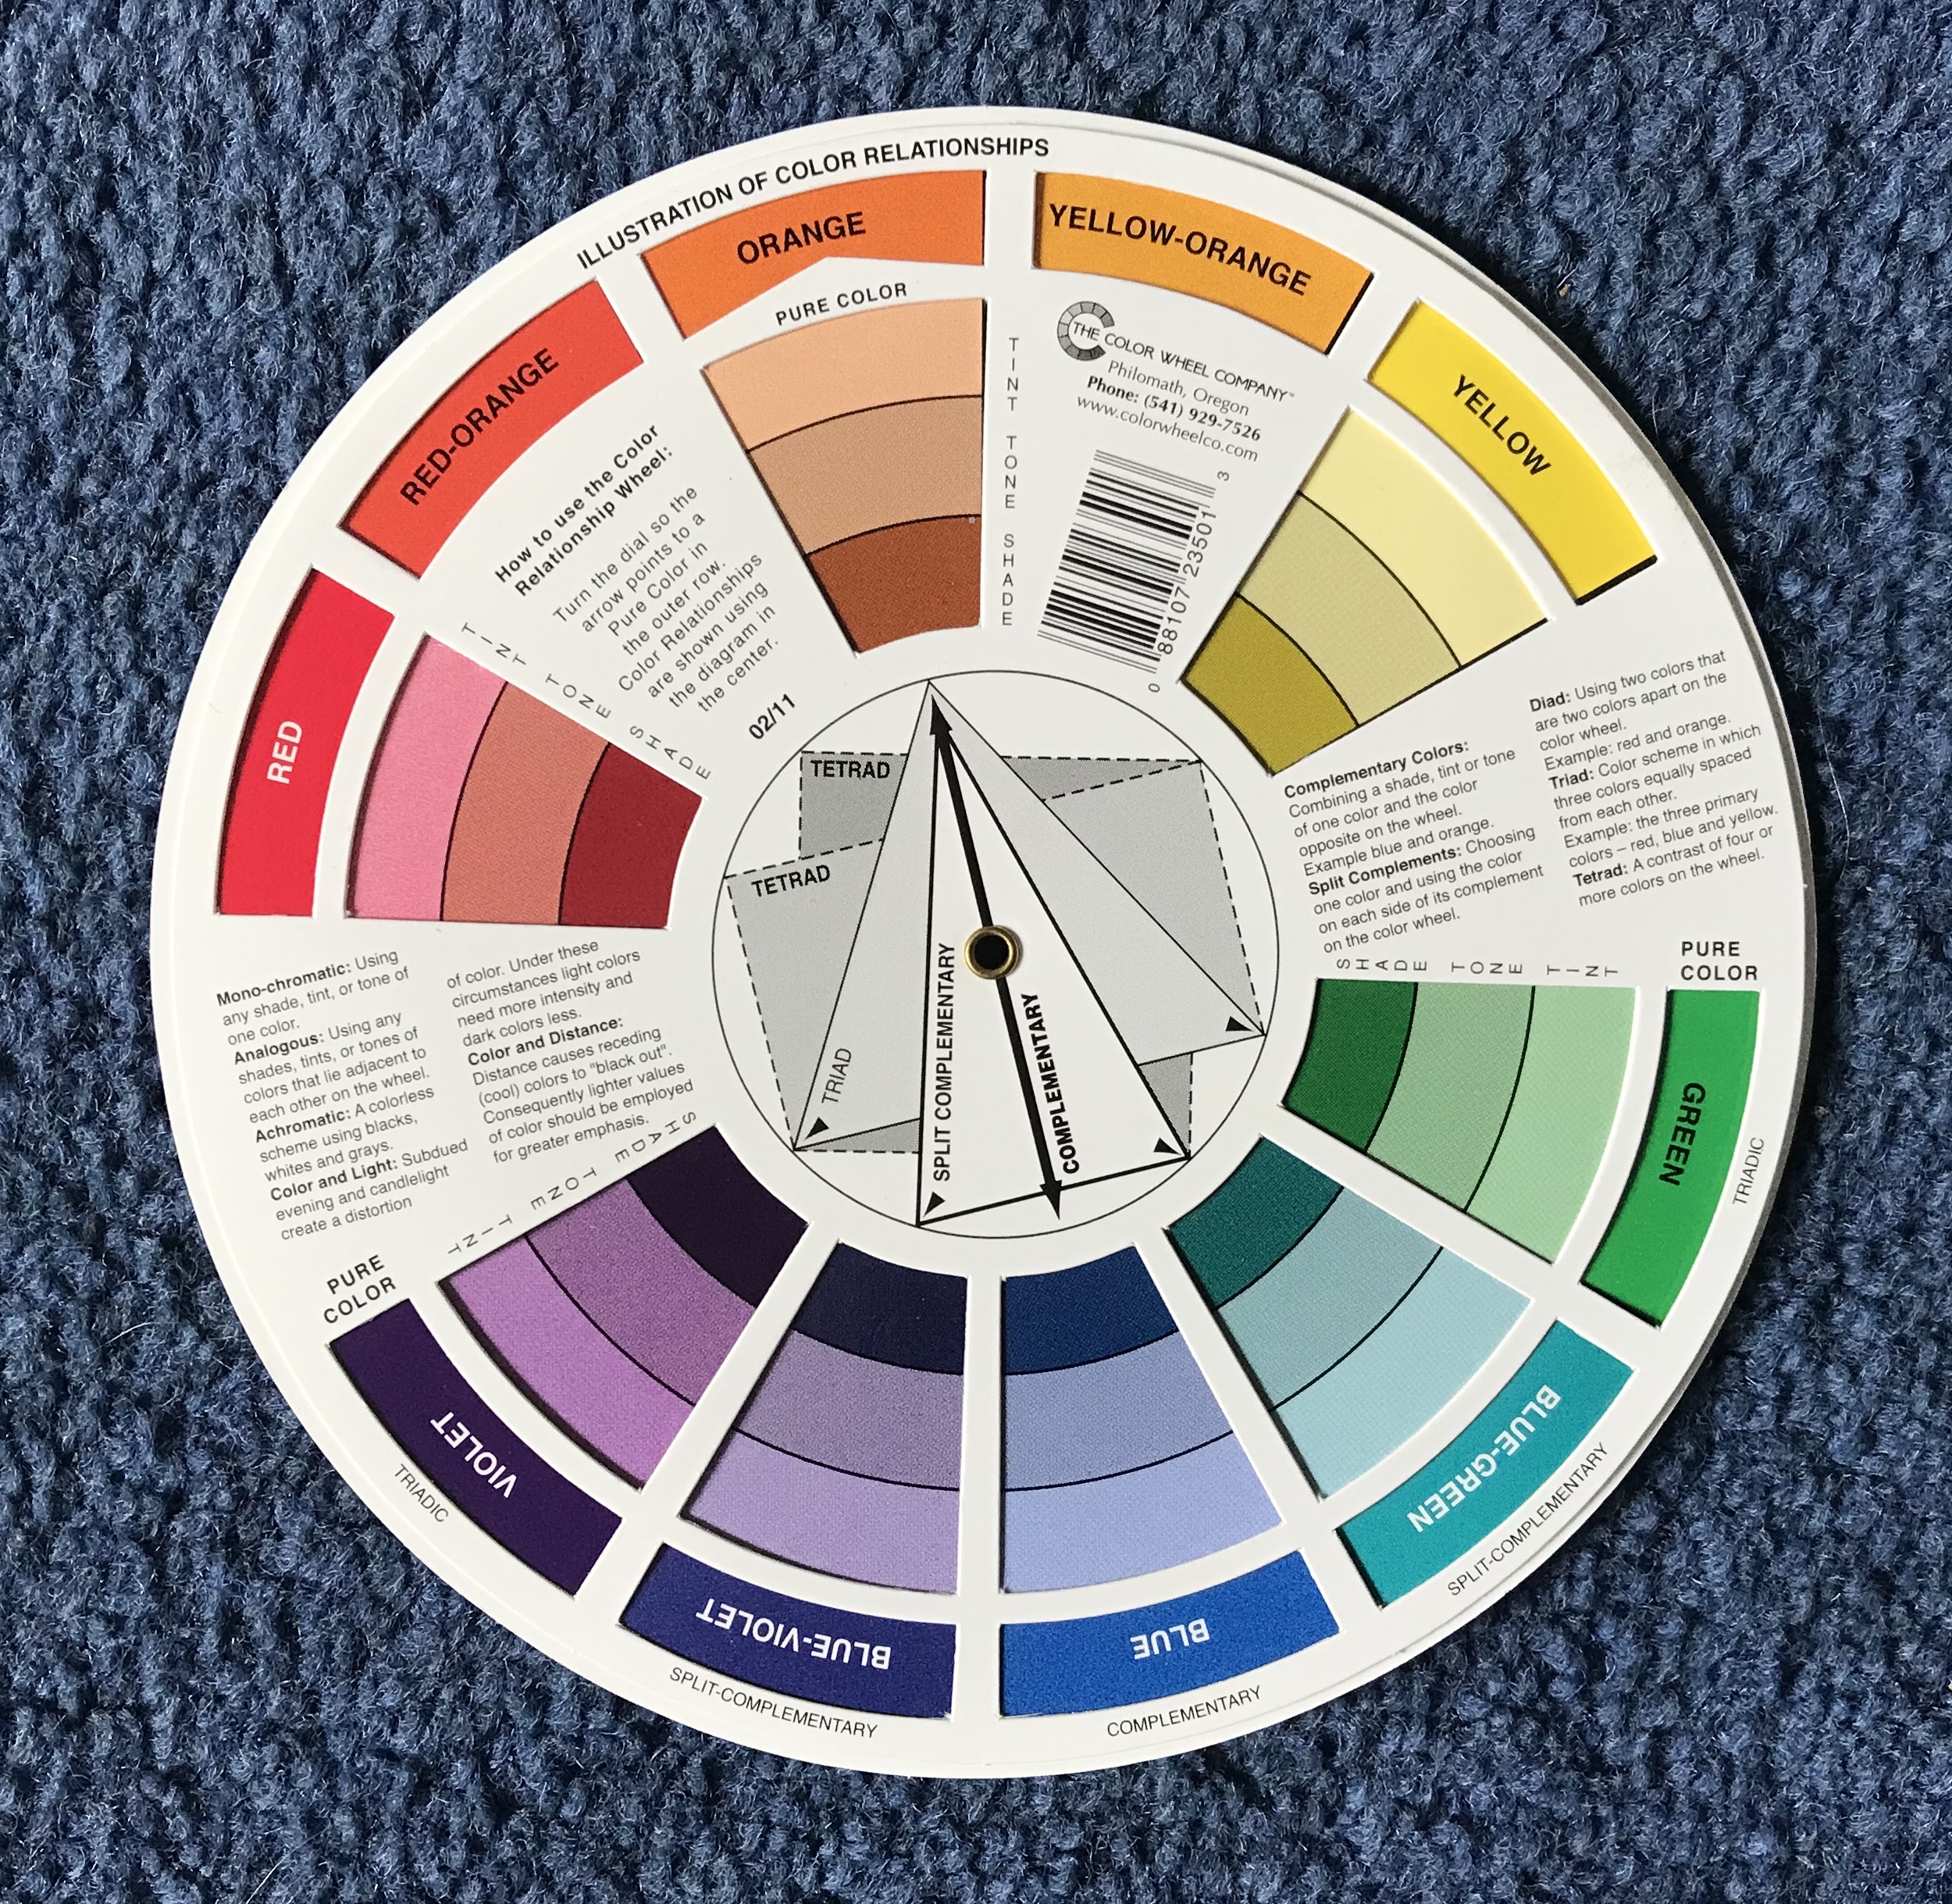
The colour relationship side quickly tells you various colour schemes you can use, such as complementary, triadic colours etc. Just turn the inner wheel so that the arrow at the center of the circle points at a main pure colour and it will tell you its relationship with other colours. It also has brief explanations on the different colour schemes and shows you the tint, tone and shade of each pure colour.
Value finder
This tool helps you check the values of your artwork. As I mentioned before in many of my previous posts, getting the correct values of an artwork is very important, even more important than getting the right colours. Values give us a sense of depth and dimensionality, it’s what gives an object in artworks its form and makes it look realistic.
The value finder is basically a greyscale on a piece of paper. You place it on an area of your reference photo and try to match its value on the grey scale. You then check if your drawing as the same value. This tool is very useful for people who have trouble seeing values, like me.
Mahl stick
Keeping a steady hand when you are painting without support on your hand or wrist can be difficult, you wouldn’t want to smudge any drying/wet paint or marks with your hand. The mahl stick helps give support to your hand when painting.
It’s a stick with a weighted tip at one end, you support that end or part of the stick on the edge of your canvas or somewhere on your easel. with the non-painting hand holding up the mahl stick, your painting hand can rest anywhere on the mahl stick and paint steadily. The mahl stick can also be useful in painting straight lines by gliding your hand along the stick.
They are available online, however, it can be easily made by yourself at a cheaper price. Simply get a stick and wrap the tip with something slightly heavier.
View catcher
The view catcher is useful in two ways: finding composition and colour checking. Below is a picture of the one I own.
This tool is great if you like drawing or painting outdoors. It helps you with deciding on your composition. You can slide the inner square and look through the opening for a good composition. The opening can be a rectangle or square depending on your preference.
The small hole in the middle of the inner square is good for value and colour checking. Looking at colours and values through a small hole will free us from seeing the wrong values. When I am painting, I put the hole over an area on my reference photo and cover half the hole with paint on a brush or palette knife to check the colour and value.
Manikin
Using manikins are very helpful if you’re into drawing figures and people. If you have trouble visualising poses, then this tool will come in handy. They are like those faceless(or sometimes even headless) life-size model you see in clothes shops displaying trendy clothes in various poses. An artists manikin is a model of a human figure, usually resized so it’s easier to handle and keep, their joints can be moved around to form poses.
There are many different types of manikins out there. The cheaper ones are simply made of very abstracted shapes, and have a more limited joint movement or not moveable at all. The more expensive ones will have a more detailed looking human body, they can be male or female. The more expensive ones may also have more flexible joints for more realistic poses.
I have tried both the basic manikin and a slightly more expensive one. The basic manikin was harder to manipulate and since it’s only blocks of shape, it was hard to visualise muscle mass for me too. The basic manikin also broke quite easily, probably because of me bending and twisting it too much, but since they’re quite cheap, it’s easy to replace. I think the basic manikin would be good for experienced artists who already have a good knowledge of anatomy. The more expensive manikin I have is easier to manipulate, shows basic muscle mass and characteristics of a female. the hands are also detachable so I can change to different hand poses.
I hope you’ll find some of these tools useful in whatever art medium you are working with. Getting the right tools can help you speed are your process or improve your artwork. There are many other tools that may help but remember, these tools are not a necessity for you to draw or paint well. Not having these tools doesn’t mean you will never be able to be a good artist. Whatever tools or art materials you use, cheap or expensive, in the end, it’s your own skills that count.
I hope you’ve enjoyed reading this post and has learned something new from it.
You may also be interested in:


One Response
https://waterfallmagazine.com
Keep on writing, great job!