
Drawing the face can be one of the most difficult things for an artist. A good portrait not only need an artist to draw out the faces’ unique characteristics and proportions, but it should also capture the likeness or emotions of the sitter. The first steps of an artist trying to take on portraiture are to understand the anatomy of the head: parts of the skull and muscles on the face. It’s also important to have lots and lots of practice, and while you practice, you will steadily improve and learn from your mistakes.
To improve, we need to first realise the mistakes we are making. Sometimes, as beginner artists, we aren’t even aware of the mistakes that we are making. So in this post, I will be talking about some of the common mistakes that beginner artists make when drawing portraits and some tips on fixing them. If you can identify them, then you can fix them. At the end of the post, I’ll be sharing with you how I managed to improve my portrait skills.
Try out the 30 Days Free Trial! The digital painting software for illustration, comics and animation!

The eyes are at the center of the head
The eyes are placed at the center of the head between the top of the skull and the bottom of the chin. If you’ve ever felt like that your head looked deflated or squashed, this may be the reason.
To correct this, simply check if the distance from the top of the skull to the eye is equal to the distance from the bottom of the chin to the center of the eye. If they are different, then make adjustments so that they are. Note that the top of the skull is not the top of the hair. Some people may have gelled or fluffy hair that stands a few inches on top of the skull, that doesn’t count as part of the skull.
Drawing the eyes too big
We are biologically more attracted to people with bigger eyes, that’s one of the reasons why we may subconsciously draw the eyes too big on a face. Another reason may be you’re too big an anime or cartoon fan and all you’ve ever drawn has been cute girls with unrealistically gigantic eyes and huge rainbow coloured oval shaped iris with stars and sparkles in them that jumped out when they blink or wink and eyelashes that reach the eyebrows. Am I being oddly specific? Nah. I remember how weird it felt to me when I tried drawing normal sized eyes. They are so small! I thought at that time. Now as I’m more experienced in the more realistic style, I can roughly estimate the size of the eyes to make sure they aren’t too big, unless I’m stylising it.
To fix this, you’ll need to study your anatomy and do your practices. Also, don’t be tricked by makeup, they make the eye appear bigger.
The iris is normally always covered
Here are drawings of 2 eyes I did:
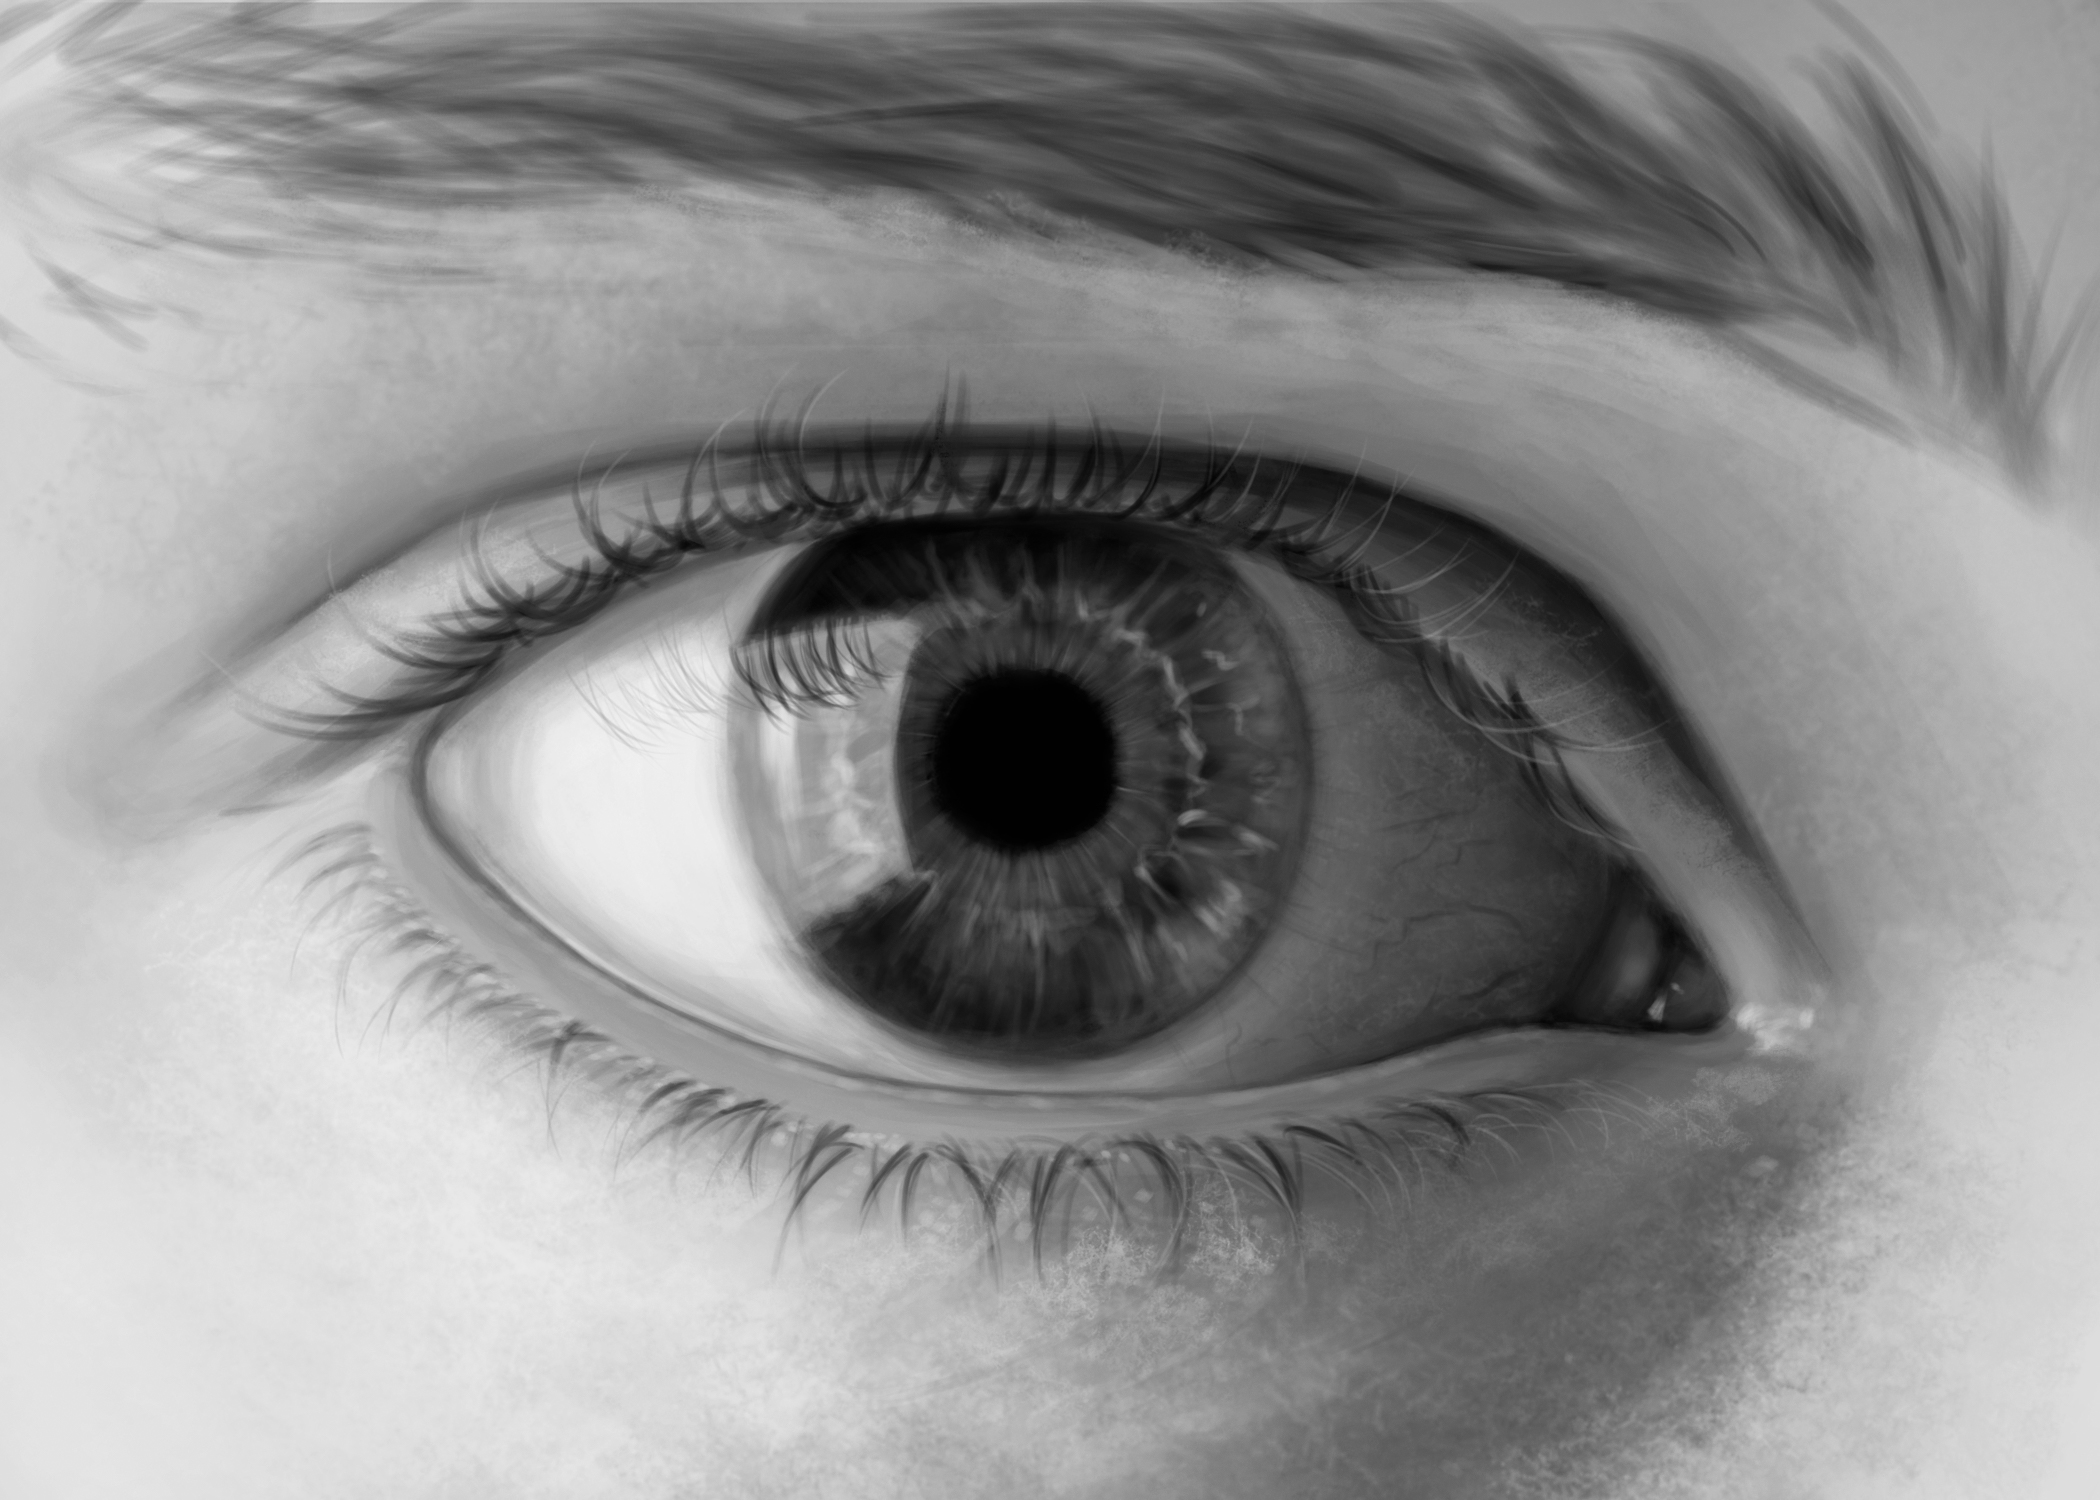
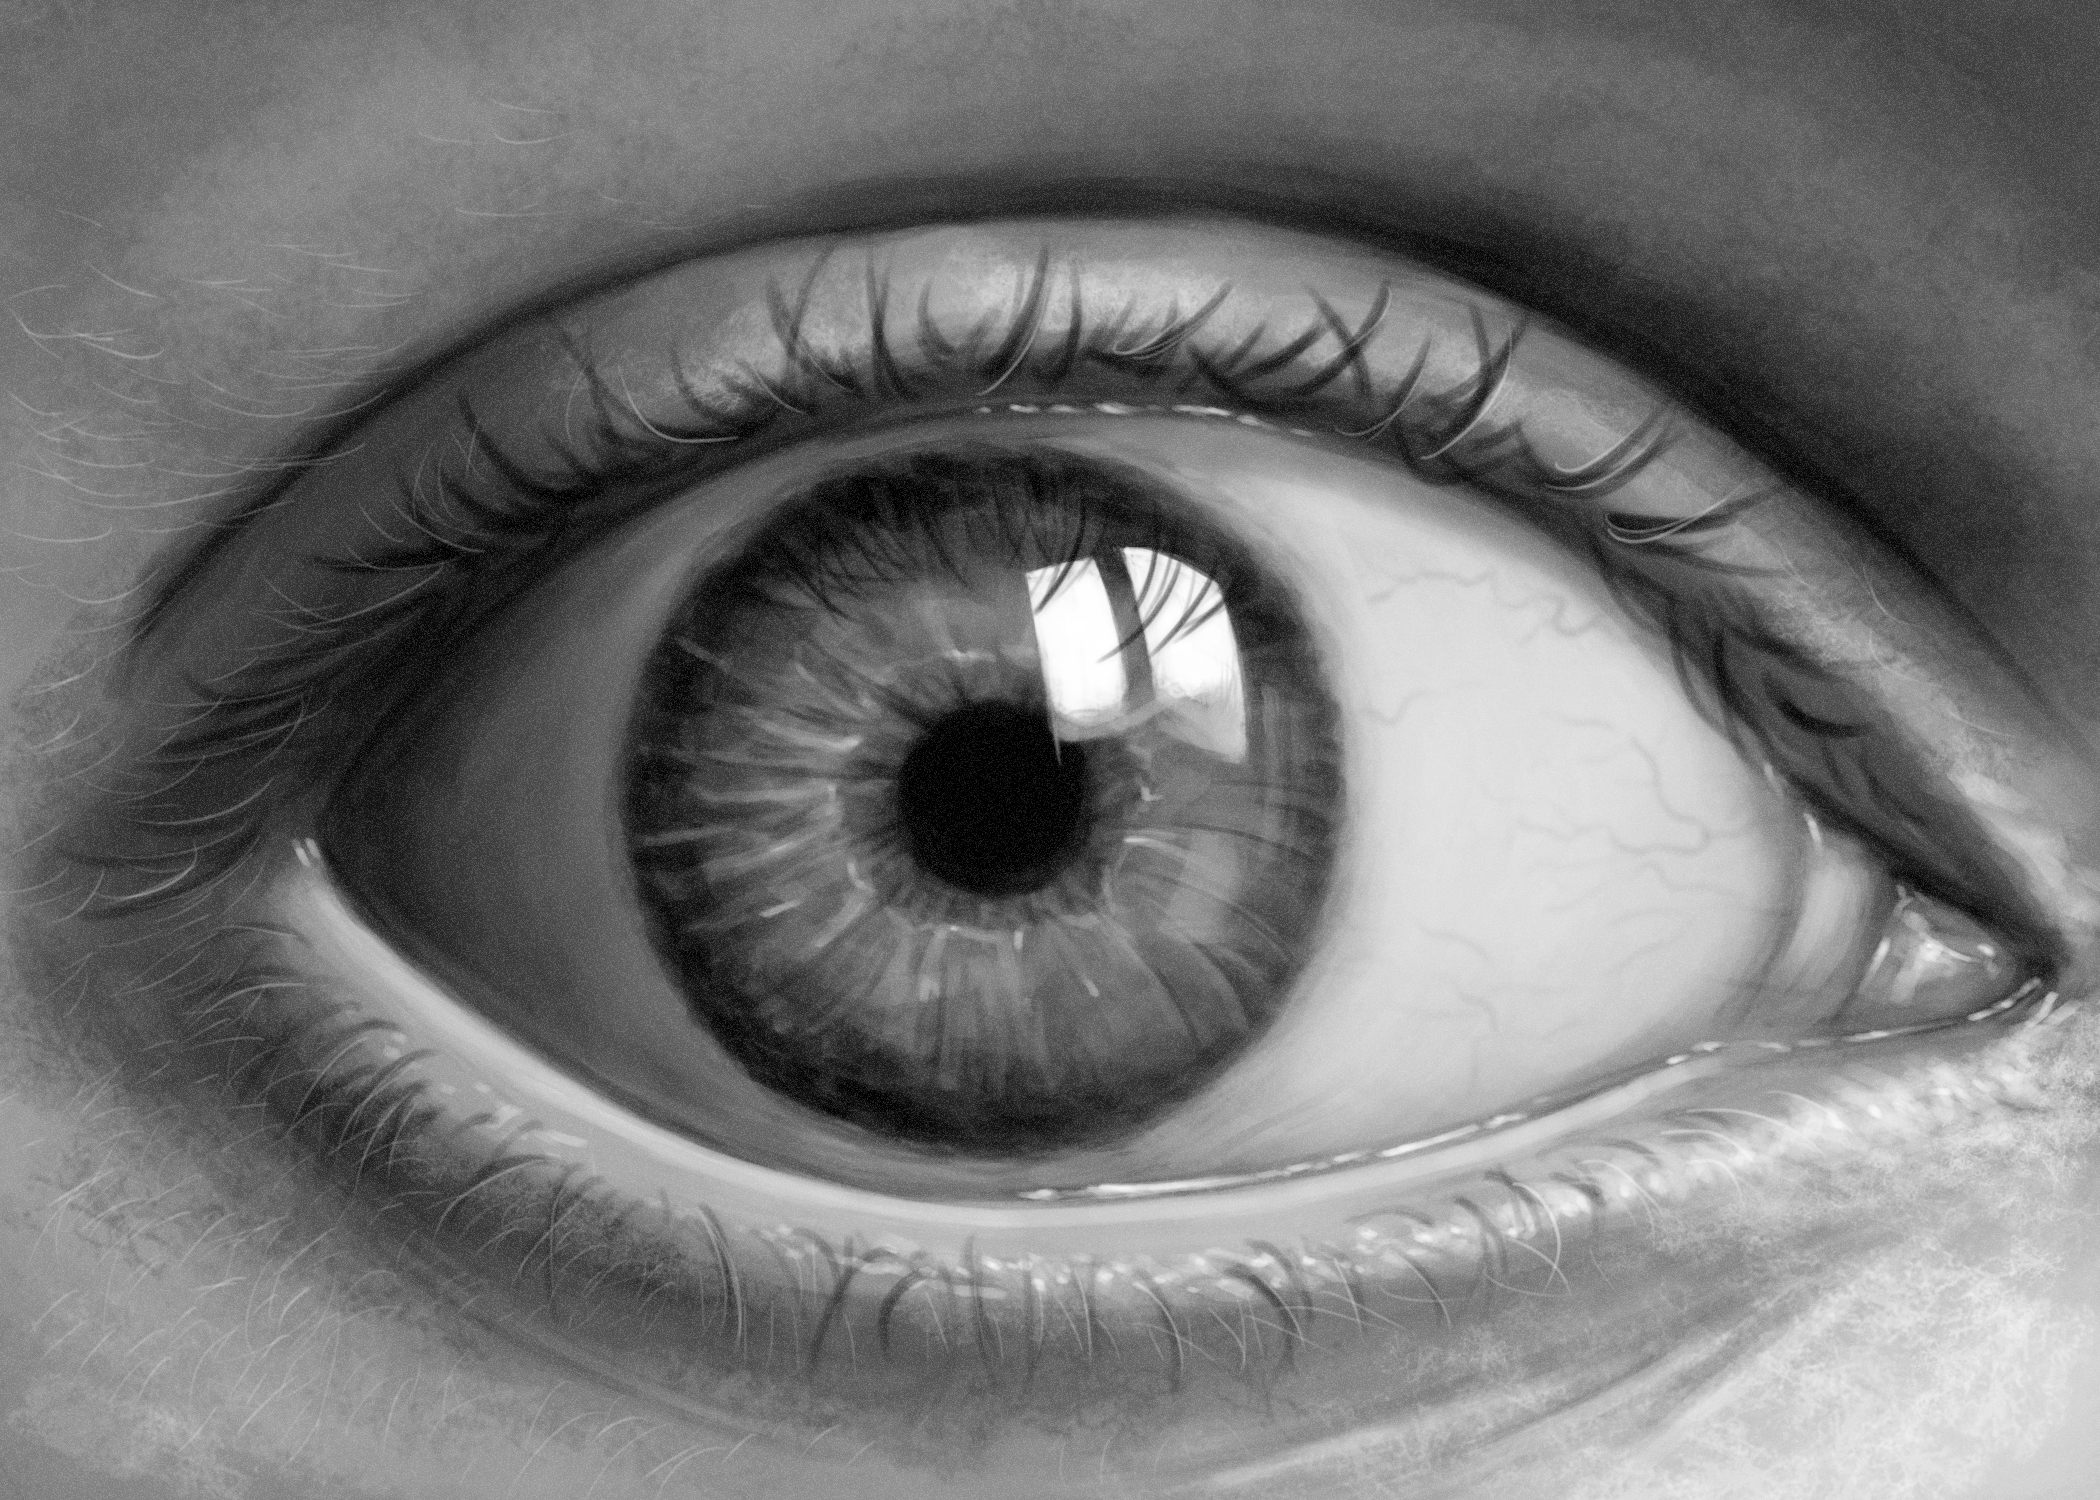
What have you noticed? That one eye looks way creepier and unnatural than the other? That’s right. You should also notice the shape of the iris. One is covered slightly by the top eyelid and one is not.
Look around at people’s eyes, unless they’re making some crazy faces and trying to open their eyes as wide as possible, you’ll realise that the iris is always covered by the upper eyelid, bottom eyelid, or both.
This is a simple fix, cover the iris! It’d help more if you have a better understanding of the structure of the eye. But I’m not planning on getting into too much anatomy in this post. I will be making anatomy posts soon.

The nostrils are not pure black dots
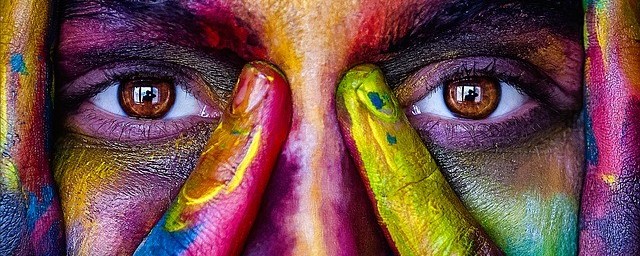
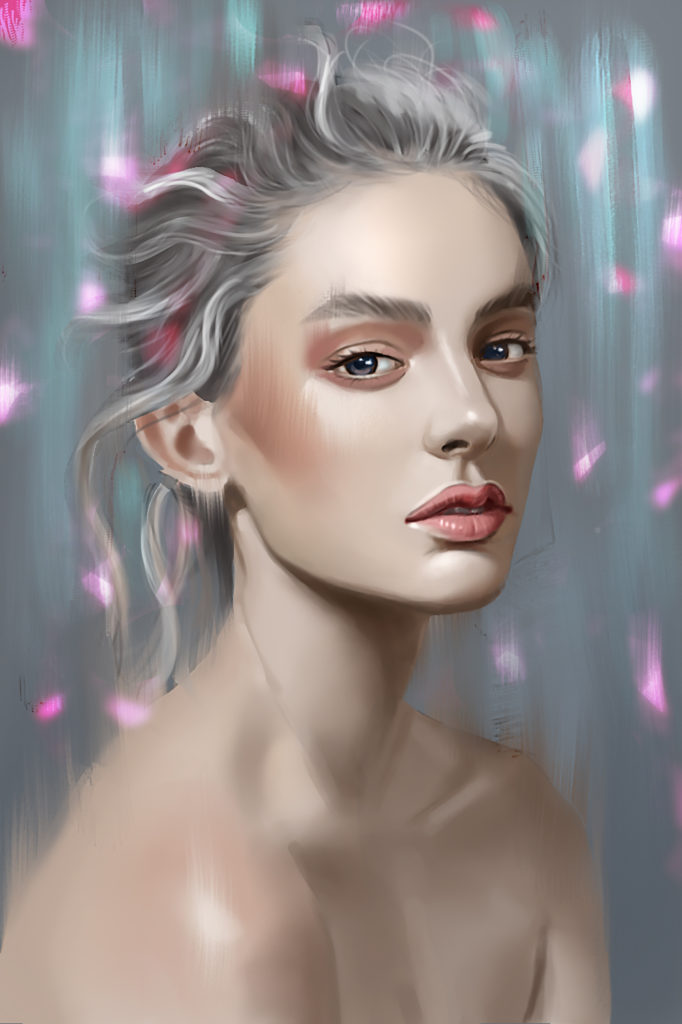
Some beginner artists draw the nostrils as black dots. We don’t have a tiny black hole hiding in each of our 2 nostrils. It would be good for waste disposal or hiding the bodies of your enemies, but sadly that’s not the case. Black is the absence of light. Look up the nostrils of someone and you will see that it’s not pitch black(you’d probably wish it was). Through the reflection of light, some light does enter into the nostrils, so the nostrils are not pure black. Depending on the lighting and angles of the face, it may be way lighter than you think! The title images’ nostrils are not black, if you look carefully, it’s more of a dark red.
To fix this problem and draw a more realistic nose, you need to observe carefully the tones of the nostrils. There may be a gradation of tone as it goes into the nostrils. Most of the time they shouldn’t even be circles, look at the shape of the nostrils, it will change drastically as the head changes angles and positions. In some situations, even if the nostrils look black, you shouldn’t colour it pure black. Use a mixture of other dark colours for more realism, the difference may be subtle but it’s worth it.

The teeth are not pure white
I took an image on the Colgate max white page, brought it into Procreate(a digital painting software), colour picked the teeth(left) and compared it with pure white(right). Here’s the result:

Woah Colgate better step up its whitening game! As you can see, the healthiest, whitest teeth you see on TV is not pure white. In fact, pure colours are very rarely found in nature. I guess without the invention of toothpaste, we won’t really have a problem of drawing the teeth too white.
How to fix this? Simple, give it some tone! If you’re drawing in monochrome, just tone the teeth down a little with some shading. If it’s a very detailed teeth drawing, you may need to add in some gradation or highlights as teeth have smooth and reflective surfaces. If you are drawing the teeth in colour, add a tint of yellow to it, but not too much or the person will look like he or she has bad oral hygiene(unless they really do).
How I improved my portraiture
When I first started drawing, I drew very stylised anime heads. They had big eyes, tiny nose and mouth and crazy hairstyles. Then as the years went on I got interested in a more realistic style. So I practised drawing realistically. Drawing a full portrait went horribly for me at the start. So I went on to practice drawing individual parts of the head. When I got better at them, I tried placing them together on the head. This time, the features looked better, but the proportions are way off. The eyes were too big or the nose too long. So I tried learning the proportions and anatomy. Till now, I’m still trying to improve my proportions and anatomy by constantly practising and learning. I wish I had studied anatomy first because that would have saved me a lot of time trying to figure out where to put the parts of the face. By understanding anatomy, you will understand why you are drawing what you are drawing and not only drawing what you see.
One thing that has helped me tremendously is the life-size skull I bought a few years ago. I have some other smaller decorated skulls but this life-size replica skull is what I used to practice my anatomy. I place it under different lighting and angles for practice. When I’m having difficulties with a portrait drawing, I rotate the skull to match the face’s angle and try to understand the structure better.
So these are some of the mistakes that beginners tend to make when learning to draw portraits. How many have you made? I know I’ve made quite a few of them. Learning how to draw portraits should be an ongoing learning process, there will always be more to be learnt, and this is how you improve.
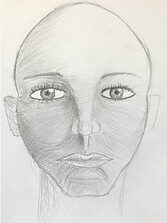
Don’t feel embarrassed or bad about yourself if you make those mistakes, every artist has made at least a few of them when they first started drawing portraits too. To make you feel better, I’ll show you one of my early attempts at drawing a portrait. And to make myself feel better, I’ll show one of my recent portraits too. As you can see(hopefully), there’s quite a difference. There’s a five years difference between these 2 portraits, so don’t get discouraged if you feel like you’re taking a long time to improve.
Try out the Clip Studio Paint 30 days free trial!
It is the app for artists, designed for drawing & painting. Open the door to creativity without limits, with specialized features for illustration, comics, manga, webtoons, concept art, design, and animation built-in.
It is the main software that I use for my digital drawings. It is a cheaper(one-time payment!) alternative to Photoshop.
I hope you’ve enjoyed reading this post and has found it useful. If you purchase anything through the affiliate links that I’ve provided, I’ll get a small amount of commission (at no extra cost to you!) which helps me continue writing art-related blog posts and tutorials like this one.
You may also be interested in:
- 6 Ways to find time to draw when you are busy
- Different types of painting mediums in art
- Fundamentals of art
- Ways to improve your drawing skills
- What is life drawing and its benefits

Support me on Ko-fi! Your donations and support mean a lot to me and it helps me keep doing what I’m doing!
Like my artworks? You can get them in prints, stickers or badges form on my Etsy shop!
Follow me on Instagram to see more of my art!


6 Responses
I am not now, never have been, and probably would never be tempted to claim that i am an artist in any way, shape or form. But I found your article really very interesting. Enough so that i can think of a couple of people that not only would possibly benefit from the advise that you give, but i will seriously consider forwarding your information too.
I it turns out to be possible to do so without offending their sensibilities or pride.
I thought that your article was given immense weight by the inclusion of the before and after pictures that you posted at the bottom of the article.
Thankyou! Glad you found the post interesting 🙂
Wow, thank you so much!
All this time I have no idea what am I doing to make my portraits look passable at the least. I have been doing all the mistakes you have pointed out, no wonder my drawings look so surreal or abysmal. Yikes!
You just opened my eyes to improve all of these. Also nice illustration at the end of the page, I wanna be at that skill level at least.
Do you do tutorials?
It would be helpful if you could share some of your knowledge on a beginner, drawing is my passion although it is not exactly something I am good at (not yet).
Do you have any recommendations on techniques or courses? I have zero experience and zero specialization in drawing, in fact, I just bought a sketchbook and I do not know where to start off.
I wish to hear from you soon and share some ideas about these questions of mine. For the time being, I will try practicing your tips.
Thanks! Glad you’ve learnt something new from my post. I’m planning on making YouTube tutorials soon but still figuring things out, here’s my channel if you’re interested: Mary Li Art, right now I’m just posting speedpaint videos.
This youTube channel called Proko has tutorials on anatomy and portraiture, I watch them and they are good for beginners too. Hope this helps.
Did enjoy this for a number of reasons, it is full of amazing truths about our faces, which we do not realize until we are told about them as they are explained here.
The other reason that I love this, is as an artist, OK a poor one who just dabbles, only do landscapes ad I hate doing people, but mainly their faces. So this is just the sort of information that I need.
Many thanks for a first class article.
Stuart
Thanks! Glad you found the post informative.