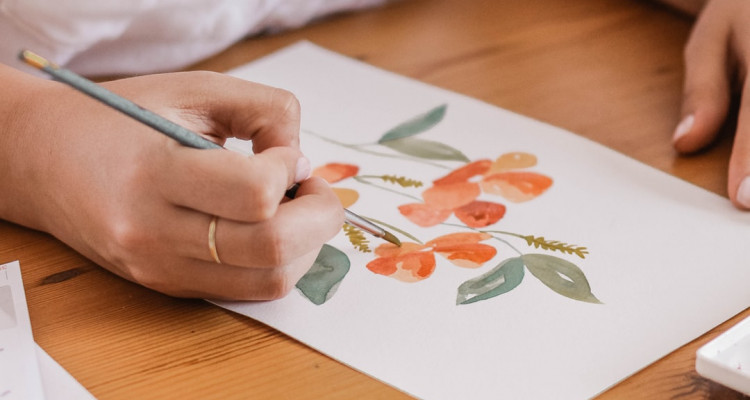
Getting an accurate drawing has always been a challenge for artists, especially beginners. When I first started drawings, I’d get really frustrated with how my drawings are all out of proportions and weird looking. Since then I’ve searched the internet and tried out different ways to try and improve my drawing accuracy and proportions. Some worked for me while some didn’t work as well. I’ve definitely made improvements over the years by trying out different things and sticking to the ones that work for me. In the post, I will be sharing with you some ways that I’ve tried that improved my drawing accuracy and proportions.
Scale Divider
For me, the easiest way to get good proportions is to use a scale divider. It can scale your reference to the size that you want to paint in. There’s a lot of measuring and checking, maybe also a bit of math involved, but the result will give you a very proportional and accurate drawing.
How to use it
A scale divider will have a nob somewhere around the center which you can take out and adjust for different ratios. To change the scale ratio, you will have to take out or unscrew the nob lose enough so it can easily move along the scale, once you’ve decided on a ratio, just tighten the screw to secure it. Now you’ll have 2 ends that will remain the same ratio no matter how much you change the angles of the ends. One end will be used to get the length of an object from the reference photo you are using and the other end of the scale will scale it up or down depending on your setting at a ratio. As long as you leave the nob at the same place, all of the scalings will have the same ratio.
You can either crop your canvas to the same ratio as your reference photo or crop the reference photo to the same ratio as the canvas. For example, if you have a photo of 5×7 inches, it’s ratio is 5:7, so make sure your canvas has the same ratio, the size can vary but what’s important is to get the ratio right.
Or you can ignore all that if you just want to paint an object on the canvas instead of strictly following the composition of your photo.
This method always gave me good results, but I don’t really enjoy the process. That’s just my preferences tho, you may end up liking it after you’ve tried it.
Flip canvas
Another way is to flip your canvas so you can look at your work with fresh eyes. When you work on an artwork for a long period of time, your eyes might get accustomed to the artwork and not see as many mistakes. Once you’ve taken a break and come back to the painting or drawing, you’ll realise that there’s something off that you need to fix. This happens to me all the time. So either take a break and come back later or you can flip your canvas.
If you’re working digitally, you can flip your canvas however you like! left, right, up, down or even mirror it!
If you’re working traditionally on paper or canvases, you’ll have fewer options, you can rotate your canvas sideways or turn it upside down. I’ve even heard of people using mirrors to flip the image, tho I’ve never tried it myself.
Use Grids
You’ve probably heard about the grid method. The grid method helps with seeing shapes and proportions better, it also helps if you want to draw at a bigger size than the reference photo. There are 2 types of grids that I’ve personally used, one is the basic grid with squares, another one I’ve only recently started using and works very well for me, it contains not only boxes but also diagonal lines.
You may prefer using one box method to another, so just try them out and see which one works better for you.
Grid box
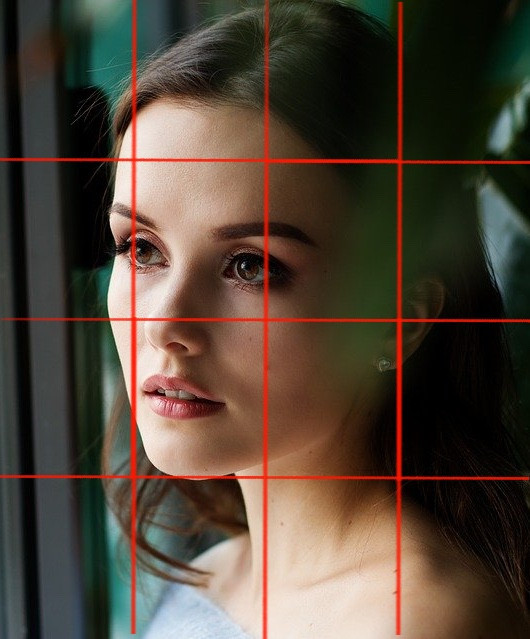
Grid box with diagonal lines
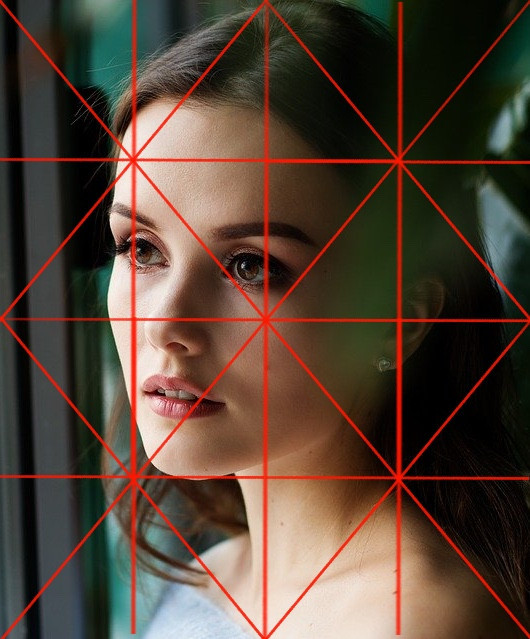
Personally I like to add extra lines at places where I think will help me with the proportions. In the photo below I also added in extra lines(in blue) for the bottom of the lips and nose, the middle of the right eye lines up with the bottom of the left eye, the corner of the right eye lines up with the corner of the mouth. Getting these landmarks are great for becoming more accurate.
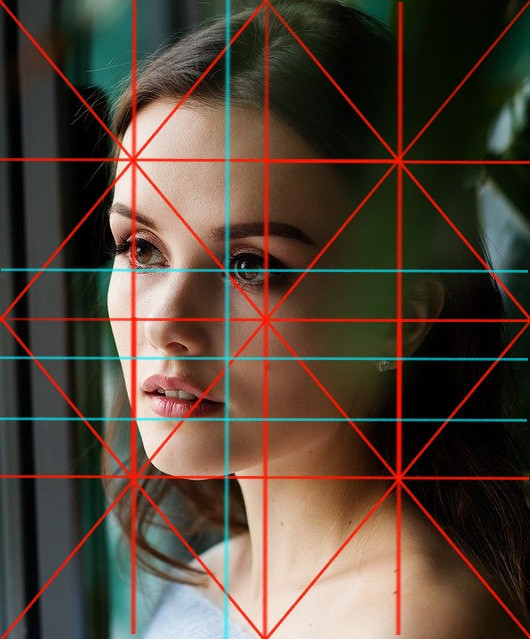
So how many grids and lines should I have? you may ask. You can add as many lines as you want into your grids, whatever suits you best. However, it may become confusing if you add in too many lines, so try it out and find out what you’re most comfortable with.
Positive and Negative Shapes
This is a method that I use a lot and has worked well for me.
Seeing positive and negative shapes is a skill that you can get better over time. It is a method that I’ve used quite a lot. So what are positive and negative shapes?
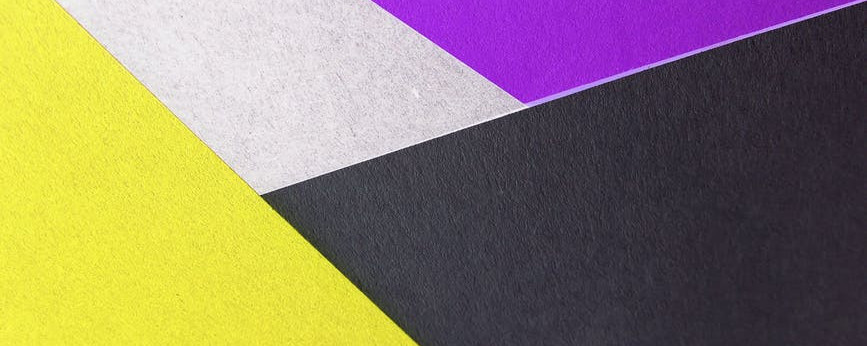
Positive space can be an object in an artwork, it can also be the focus of an artwork.
Negative space is the space around the objects or focus of the artwork.
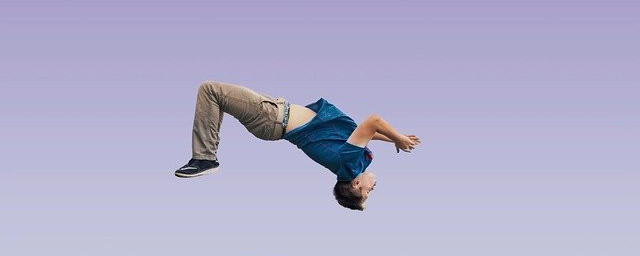
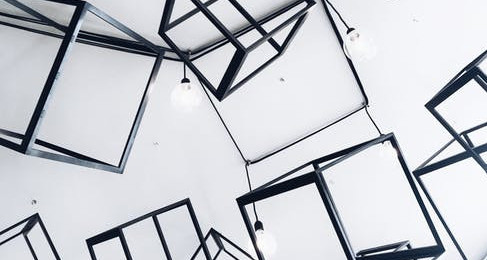
For example, in the photo below, the flowers are the positive space and the blue sky is the negative space. Look carefully and you’ll see that in between the flowers, there are pockets of blue negative shapes as well, by paying attention to both the positive and negative shapes when drawings, you will be more aware of the location of objects in relation to one another and thus produce more accurate drawings.

Once you have more experience, you will be able to just eye them out quicker and more accurately.
Practice
Above all the other tips, this is the most important thing that you need to do if you want to get better at drawing with accuracy. It will definitely take time for you to improve but once you do, you will feel a great sense of achievement and that all your hard work has paid off. I did struggle a lot at the beginning so I know it can be very frustrating and disheartening. But don’t give up! I believe that anyone can get good at art as long as they are passionate and work for it! Just like anything else in this world.
So these are some ways you can improve your accuracy when drawing or painting. Some might work better than others for you. Just try them out and find the one that suits you personally the most!
I hope you’ve enjoyed reading this post and has found it useful. If you purchase anything through the affiliate links that I’ve provided, I’ll get a small amount of commission (at no extra cost to you!) which helps me continue writing art-related blog posts and tutorials like this one.
You may also be interested in:
- 6 Helpful Artist Tools
- Ways to improve your drawing skills
- Portrait drawing tips for beginners and common mistakes
- What is life drawing and its benefits

Support me on Ko-fi! Your donations and support mean a lot to me and it helps me keep doing what I’m doing!
Like my artworks? You can get them in prints, stickers or badges form on my Etsy shop!
Follow me on Instagram to see more of my art!


