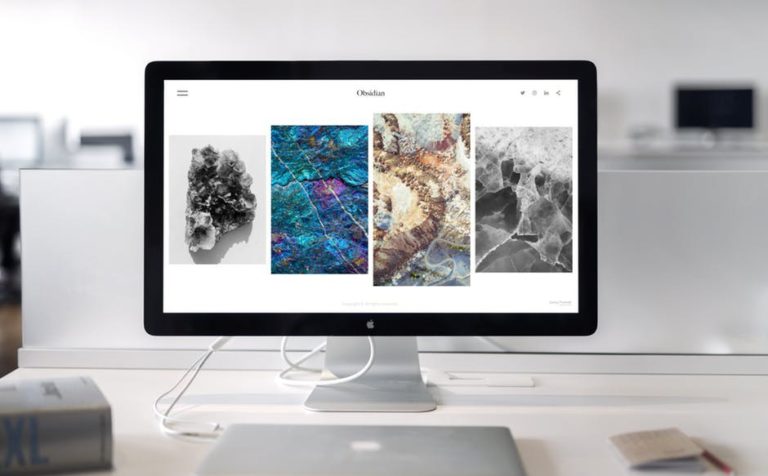
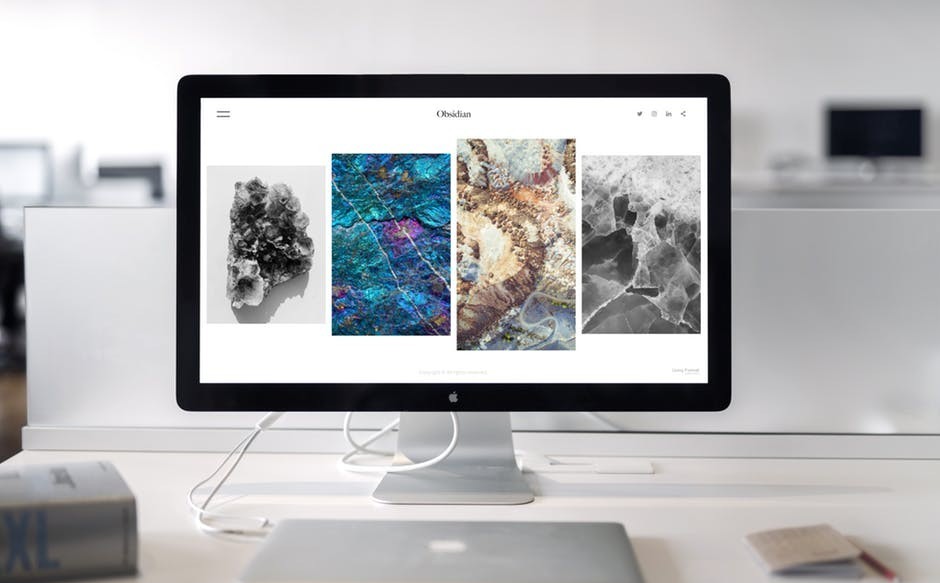
Adobe has developed many powerful and useful software and applications, Adobe Spark is one of them. Adobe Spark is available on web and mobile, it is perfect for creating visual content quickly and effortlessly such as good-looking web pages, stimulating short videos and posts. There are three types of visual content that Adobe Spark offers: Spark Post, Spark Page and Spark Video. Producing a professional-looking post, page or video quickly is Adobe Sparks strength.
Adobe Spark Page can be used for various purposes, you can create a photo journal to share all the breathtaking photos from your recent trip with your friends and family, you can use it to create a short story using elements like text, video or images, you can create a presentation, you can also create a professional-looking portfolio to help you get your next job and many more other uses. In this post, I will be walking you through how to use and edit with the Adobe Page interface so that you too can create something to share your own personal voice or idea out into the world.
Getting started
Creating a new page
Click on the blue Add button on the top middle of your projects page, then click on the ‘web pages’ tab. A list of templates will show up, click on one that suits your needs most. There are various templates for different purposes such as photo journal, presentation, report, portfolio etc. Then you will be brought to the editing page to create your next beautiful project!
Click on the blue plus button in the middle:

Choose the ‘web pages’ tab:

Themes
On the top right section of your screen, you will see the ‘themes’ option, click on it and a list of various themes will be available for you to pick from. If you’ve set up your brand on Adobe Spark, your colour themes will be there too.
Web Title
The first section is fixed, this is where you add a Title for your web page and a subtitle if you want one. You can also add a photo for the background. That’s about all you can do with the first section of the page, the real fun starts after this!
Adding a new section
There are 7 elements you can add in each section after the Web Title part. You can add as many sections as you want. The 7 elements are photo, text, button, video, photo grid, glide show and split layout. I will now go through how you can use each of these elements. Simply click on the small plus button at the centre to add a new section.

Photo
Adding a photo
There are many ways in which you can add a photo, you can :
- upload your own photos
- use the find free photos option
- import photos from your Adobe Stock
- import photos from your creative cloud
- import photos from your lightroom
- connect to your dropbox
- connect to your google photos
- connect to your google drive
The find free photos option is very useful, it allows you to search for images and gives you a list of high resolution, good quality photos that are royalty-free! That means you don’t have to worry about copyright or other legal problems when you use those photos.
Focal point
When you click on a photo, a list of options will show up, one of them is called ‘focal point’. It gives you a pointer to drag around the photo to choose where you want to focus on the image. When the screen size gets smaller, such as on a smartphone and the full photo can’t be shown, the area around where you’ve set your focal point will be shown.
Editing a photo
When you click on an existing photo, a list of options will come up: inline, full screen, window, full width, move, replace and delete. I will go through how each of them works.

Inline
The photo will be shown as its original size, it’s not scaled or anything. You can add a caption at the bottom of the image. Focal point is not available here
Fullscreen
This option makes your photo take up the whole screen. You can also add a caption in full-screen view.
Window
Give you a windows view of the photo, as you scroll, the window will scroll up or down the photo as well. You can add a caption in windows view.
Full width
Shows the whole width of your photo. You can add a caption at the bottom of the image. Focal point is not available here.
Move
The move option lets you move your photos up or down other sections. Click on the up arrow to place the photo above the section above it. Click on the down arrow to place the photo below the section below it.
Replacing photo
If you want to change a photo, simply click on the replace option to change a photo.
Deleting photo
Click on the ‘delete’ option to delete the photo.
Text
Adding text is simple, just click on the ‘text’ option and add your text.
Editing options
- change text’s heading size
- put text in quotation marks
- create an ordered or unordered list
- bold or italicize your text
- add a link to your text
- change the alignment of your text: left, centre, right

Button
This allows you to add a simple button. You can add text and link to the button. You can also change it’s alignment: left, centre, right. Click on save to confirm the change.

Video
Simply add the link to the video and the video’s thumbnail will show up. When you click on the video, it will change to full screen and play.

Photo grid
Add as many photos as you like and Adobe Spark Page will automatically scale and resize them for a nice fit.
If you want certain photos to be larger, click on the photo, then click on the ‘large photo’. To make it scalable again, click on the photo and click on ‘small photo’.
Glideshow
Add as many photos as you like and Spark Page will arrange it in a list form with all the photos having the same width. You can also add photos, texts, buttons or videos on top of each slide.
Split Layout
The option splits your section into 2, one on the left and one on the right. One side you can only add a photo, the other side you can add photos, texts, buttons and videos. Click on the switch button in the middle to switch sides.
After you’re done
Preview
Shows you a preview of how your web page will look like after you’ve published it.
Present
Changes to full-screen view where you can present your page to other people.
Sharing
Publish and share
Publishes your web page to the world! You will get your web page link which you can share with other people.
If you wish to print out your web page, you can do so here.
Invite
If you only want certain people to see your page, you can invite them using their email address.

So this is how you can quickly and easily use Adobe Spark Page to create eye-catching, responsive and professional web pages for various purposes! The Adobe Spark subscription has a free version for you to try out so have a go at it if you are interested! But you will need to sign up for an Adobe account if you haven’t already to login. The paid versions have more features such as team editing, premium templates, no Adobe Spark watermark, access to adobe fonts and more.
If you are interested in trying out Adobe Spark, click here! If you also want to try out other creative cloud software from Adobe, note that any subscription comes with the paid version of Adobe Spark for free! Check out some of the Adobe creative cloud subscriptions here!
I hope you’ve enjoyed reading this tutorial on how to use Adobe Spark Page and has learnt something new from it. If you subscribe to any Adobe subscriptions through the links I’ve provided on my website, I get a small amount of commission(at no extra cost to you!) that helps me keep writing tutorials like this one.
You may also be interested in:


9 Responses
What an amazing post. I have hears from a Friend about this adobe spark but I have never tried it Or use it for my presentation. I have tried other useful software and applications developed by adobe and they are very amazing. I enjoyed using them and this has given me the confidence that this one would also be easy to use. nevertheless I still need to undergo a tutorial and I must confess that this guide and well explained steps are really to understand and use. I can’t wait to use the adobe spark because I feel like I have used it before with this amazing tutorial.
Thankyou! Glad you liked the tutorial 😀
A well presented article I have to say. Easy to read and follow. The product is well explained and the breakdown on how to access and use the product is presented clearly. However, the first 3 sentences of the first paragraph starts with Adope word which can be seen as a bit negative. Otherwise the overall article is well written and presented. Well done
Hi Mary, Thanks for sharing the great benefits offered by Adobe Spark Page.
I have been lately looking for a tool that can conveniently and efficiently help me create content that is visually stunning for my readers. After reading your post I am positive that Adobe Spark Page is something I would surely like to use for content creation.
Will you be able to help me out in case I am stuck somewhere while using this new software?
Hi! sure! just ask your questions here or email me!
Thanks Mary! I have been struggling to learn Spark Page, and your tutorial helped me greatly!
I’m glad it has helped you!
Hello Mary Li! Thank you for this helpful information. Reviewing some inspiration pages with Glideshows, I have noticed people have transparent black floating one line text boxes versus the white transparent ones that auto show. You can see it here in this Spark blog article and the Angela Houston resume example. For example, the first one is “Key Interest. Emerging Technology”. I have not found anywhere how to add this type. Do you have a solution, if so I’d be grateful. https://blog.adobespark.com/2017/05/30/make-your-resume-stand-out-hiring-managers-reveal-what-works/
Hi Mary Li,
In this Spark blog post they highlight using Spark Page for a resume. On the sample called Angela Houston, in the Glideshow feature they show a transparent black one line box to use like a heading – the first one is Key Interest. Emerging Technology. I cannot find anywhere how to add this transparent black heading type box, only the standard white transparent floating block. Here is the article, please scroll to Angela Houston sample.
https://blog.adobespark.com/2017/05/30/make-your-resume-stand-out-hiring-managers-reveal-what-works/
Grateful!!!