
It’s been awhile since I’ve started using the Procreate App and I have gotten pretty familiar with it. So I decided to post a series of tutorials on how to use the Procreate App. In this post, I will be giving a short introduction on the basic interface in Procreate and how I am going to progress with this tutorial series on Procreate.
Tutorial Direction
There are 2 main pages in the Procreate app: the Gallery page and the canvas page.
The gallery page is where you manage all your canvases and the canvas page is where you work on your artwork.
I will be going through the gallery interface first then the canvas interface.
I will be going function by function to make sure I can cover everything and not miss anything out. There will also be shortcuts and gestures which will be helpful during your drawing process.I will also give some tips of my own and my personal experience in certain parts.
I will be referencing the Artist’s Handbook for the app from the Procreate website to make sure I won’t miss out anything important.
What is procreate
It’s a digital painting application available on Apple devices. It is 9.99 and it’s a one-off purchase. It is the best digital drawing application on the Ipad so far, built for both creative professionals and casual users. It is packed with tools and functions to aid your drawing process. Together with the apple pencil, it is pressure sensitive so it feels very intuitive, like painting with a real pencil or pen!
It is also portable since it’s on the iPad so you can draw where ever you go!
Gallery Page Interface
Here is the Art Gallery page which you will see when you first open the Procreate App.
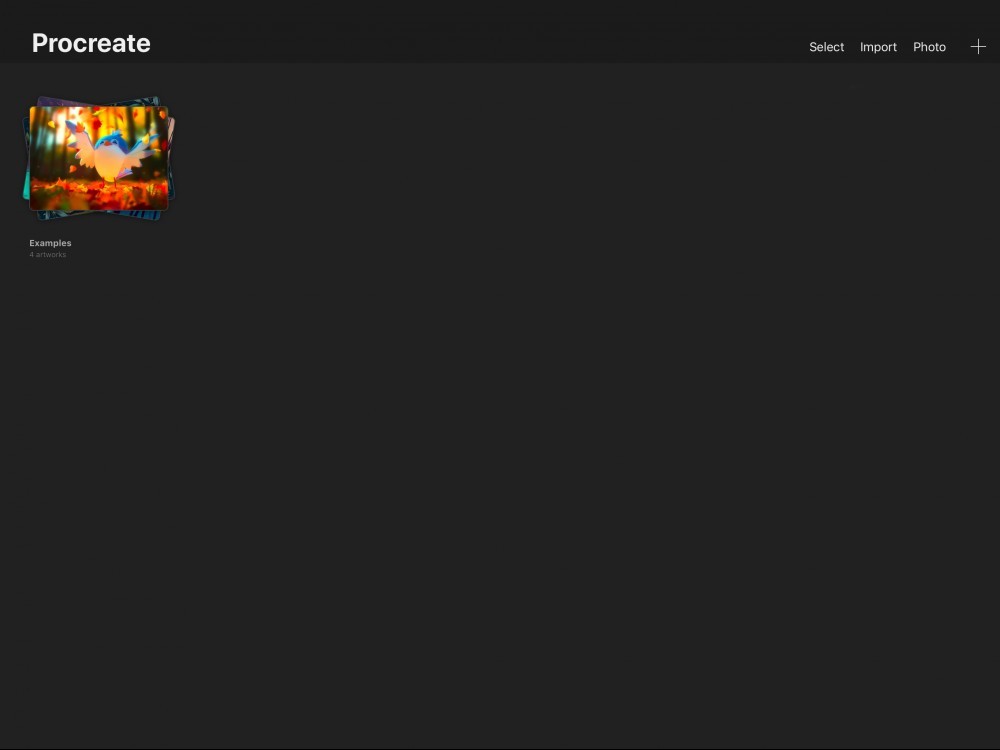
The main functions on the top right are:
- Select
- Import
- Photo
- +: New canvas
You will be given some example artworks when you download the Procreate app. Which would be good to practice on when I talk about how to manage your art gallery in the next post.
Canvas Page Interface
Here is the canvas page which you will see when you first open the Procreate App.
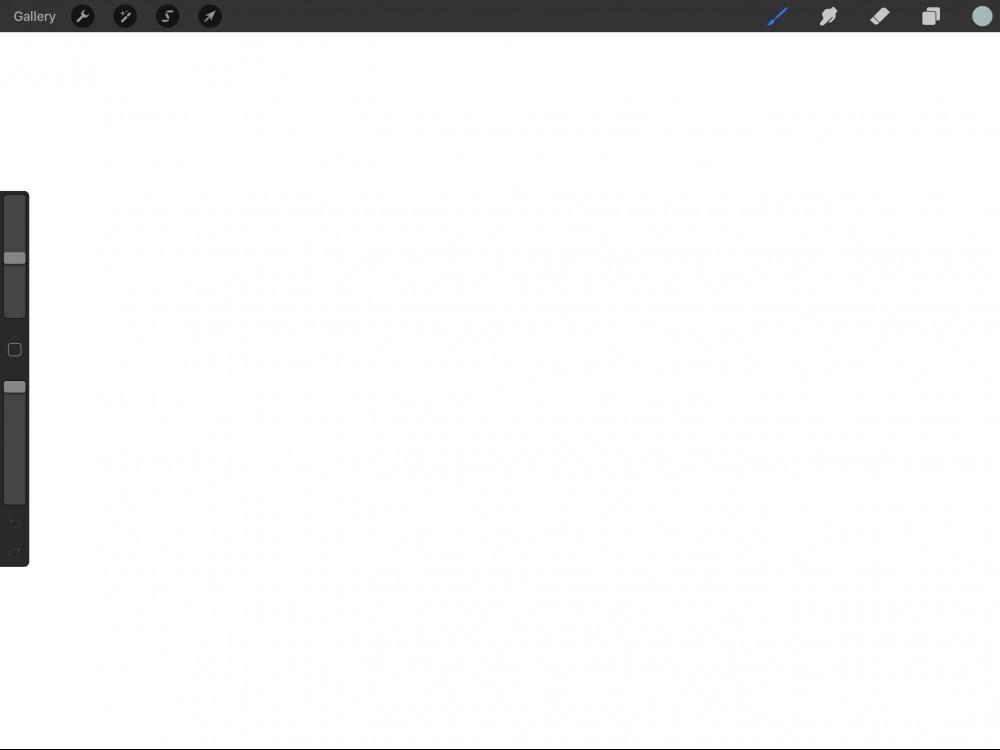
The main tools bar is on the top:

They are:
- Back to Gallery
- Actions
- Adjustments
- Selections
- Transform
- Brushes
- Smudge
- Erase
- Layers
- Colour
There are some siders on the left:

Top slider: controls brush size
Square modify button
Bottom slider: controls brush opacity
Undo and redo
So these are the main functions you will see when you first open the Procreate app. I will be going into more details on each function in later posts
In the next post, I will be going through each function in the art gallery interface. You will learn how to:
- Manage your art gallery
- Import and export artworks, photos and files
- Create new canvases
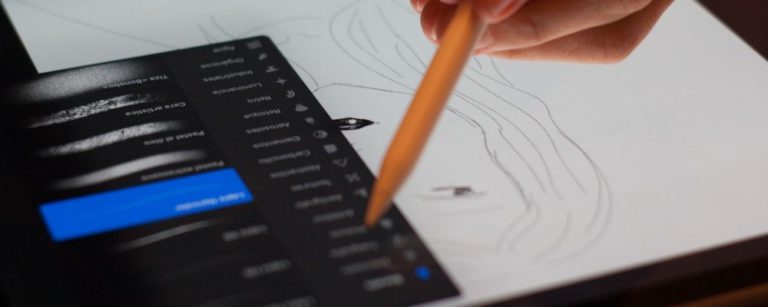
Try out the Apple Pencil to bring your creative process to the next level on the Procreate App!
These artist gloves for digital painting are a must for me when I paint on the iPad, when I don’t wear the gloves, sometimes the Procreate app sense my palm resting on the screen as 2 fingers tapping and holding and start undoing! Or sometimes it starts colour picking. I’ve tried the different palm support options but I still get the problem sometimes. If you’re having these kinds of problems as well, the gloves may be your solution, it makes you feel and look more professional too!
You may also be interested in:


9 Responses
It seems an excellent app, and I assume the kids would get engaged and happy to try it. It’s such a relief that it’s only a one-time payment. Although, the Apple pencil is a bit expensive. Is there any cheaper alternative to the pen?
I have to give it a try myself first, and then I’ll involve the kids. Thank you for the first tutorial, waiting for the next tutorials.
Hi! Yes there are alternatives to the apple pencil which are cheaper. I found a post about it here if you’re interested.
Thank you for introducing me to this app. I love the fact that it can make you feel like an artist, even if you actually suck at drawing in general.
I like the neon colors they offer and all the different looks you can give your artwork with the different types of pens and highlighters.
Now I am going to try this to edit photos and make them look more interesting.
Thankyou! Hope you’ll enjoy using the app!
You show great knowledge by explaining on a very simplistic way and with simple words the way that the program operates. Even if the article is very well explained I have several suggestions. Maybe the titles on each section should be on a different style of letter so that the reader should know better when a new section is going to start. It is my experience as a person that likes to read specially articles from the internet before making a purchase or taking a decision that if the article does not have features that trap my eyes I get board of reading and look for another article.
About the topic I have heard of similar products on the market with a difference that you mentioned about the apple pencil feeling like a real one. I believe that you should maybe also mention that this gives you result on your work.
Hi! Thank you for the suggestions! I’ll definitely try out the different letter styles in my future posts. I will also talk about my personal experiences with the apple pencil in a future post.
Thanks for this information, its very useful. Can procreate help me to improve on my artwork? Cant wait till u post the next article on how to manage my art gallery so the world can see my artwork. Can procreate work on Android phone too? To me this article is very educative and its not a waste of time.
Thankyou for the comment! Procreate is only available on iOS devices. However, there are alternative apps you can try out on android!